Cleaning a Le Creuset Pepper/Salt mill grinder
2024-02-03
Skip to the step-by-step instructions.
My spouse and I have been suffering with those cheap plastic salt grinders sold in grocery store spice/seasoning sections. It was tolerable for a while, but the plastic started to squeal against itself and it was always much harder to grind the salt than I wanted. Plus, there was no way to adjust the grind size, and practically speaking, there's no point to grinding salt if you aren't able to adjust the size for whatever you're cooking. We have, however, had a Le Creuset mill grinder (technically the "salt" one, the only difference being the S on top), and I wanted to find something comparable in features and quality to replace the cheap plastic thing we'd been reluctantly using for salt, once and for all. I did not want to purchase another of the Le Creuset ones, mostly because while it's aesthetically pleasing, and mostly works well, I've always been frustrated with a few aspects of it:
- It's a bit of a pain to refill. The opening is small, made smaller by the supports for the centre column, and I invariably spill a small but annoying number of peppercorns when refilling it. I could use a sheet of paper or something as an ad hoc funnel/slide, but... well, I don't. I always cup my hand around to make the bounciest possible funnel, and yeah, that works about as well as you think. As in, it works, but doesn't solve the problem of spilling a few peppercorns around the place.
- While you can adjust the grind size, the method is a bit inscruitble to me. You slightly unscrew the metal knob that keeps the top on, which elongates the total available length of the centre column. A spring around the centre column pushes the centre burr down, creating more space between it and the outer collar burrs. It's clever, but (a) is not obvious, so you have to explain it to anyone using it for the first time and (b) is imprecise. It also relies on a complex layer of elements that you'll see later, makes it ultimately much harder to clean.
- Using the top knob as both the mechanism for securing the lid of the mill and for adjusting grind size leads to an issue where, when grinding, it's annoyingly easy to accidentally tighten the top knob, thus reducing the grind size while you are using it. I also want the lid to be on securely, and so sometimes habitually tighten the top knob to prevent it from wobbling and clanking around, which then again unintentionally reduces the grind size.
- It isn't ergonomic for large quanitites of ground pepper. If I'm using enough pepper, I'll just use my mortar and pessel, as it's much more comfortable, but that's more convenient if I'm also grinding other spices for the dish. If it's just pepper on, for example, a yummy pan fried mushroom, then I'd rather just use the pepper mill. But if I have to rotate the mill 10 times, my hands start to cramp a bit, which is a pain! I have large-ish hands, so this might not be an issue others run into as much, or maybe my technique is bad. Either way, it is a pain and makes using it physically unpleasant.
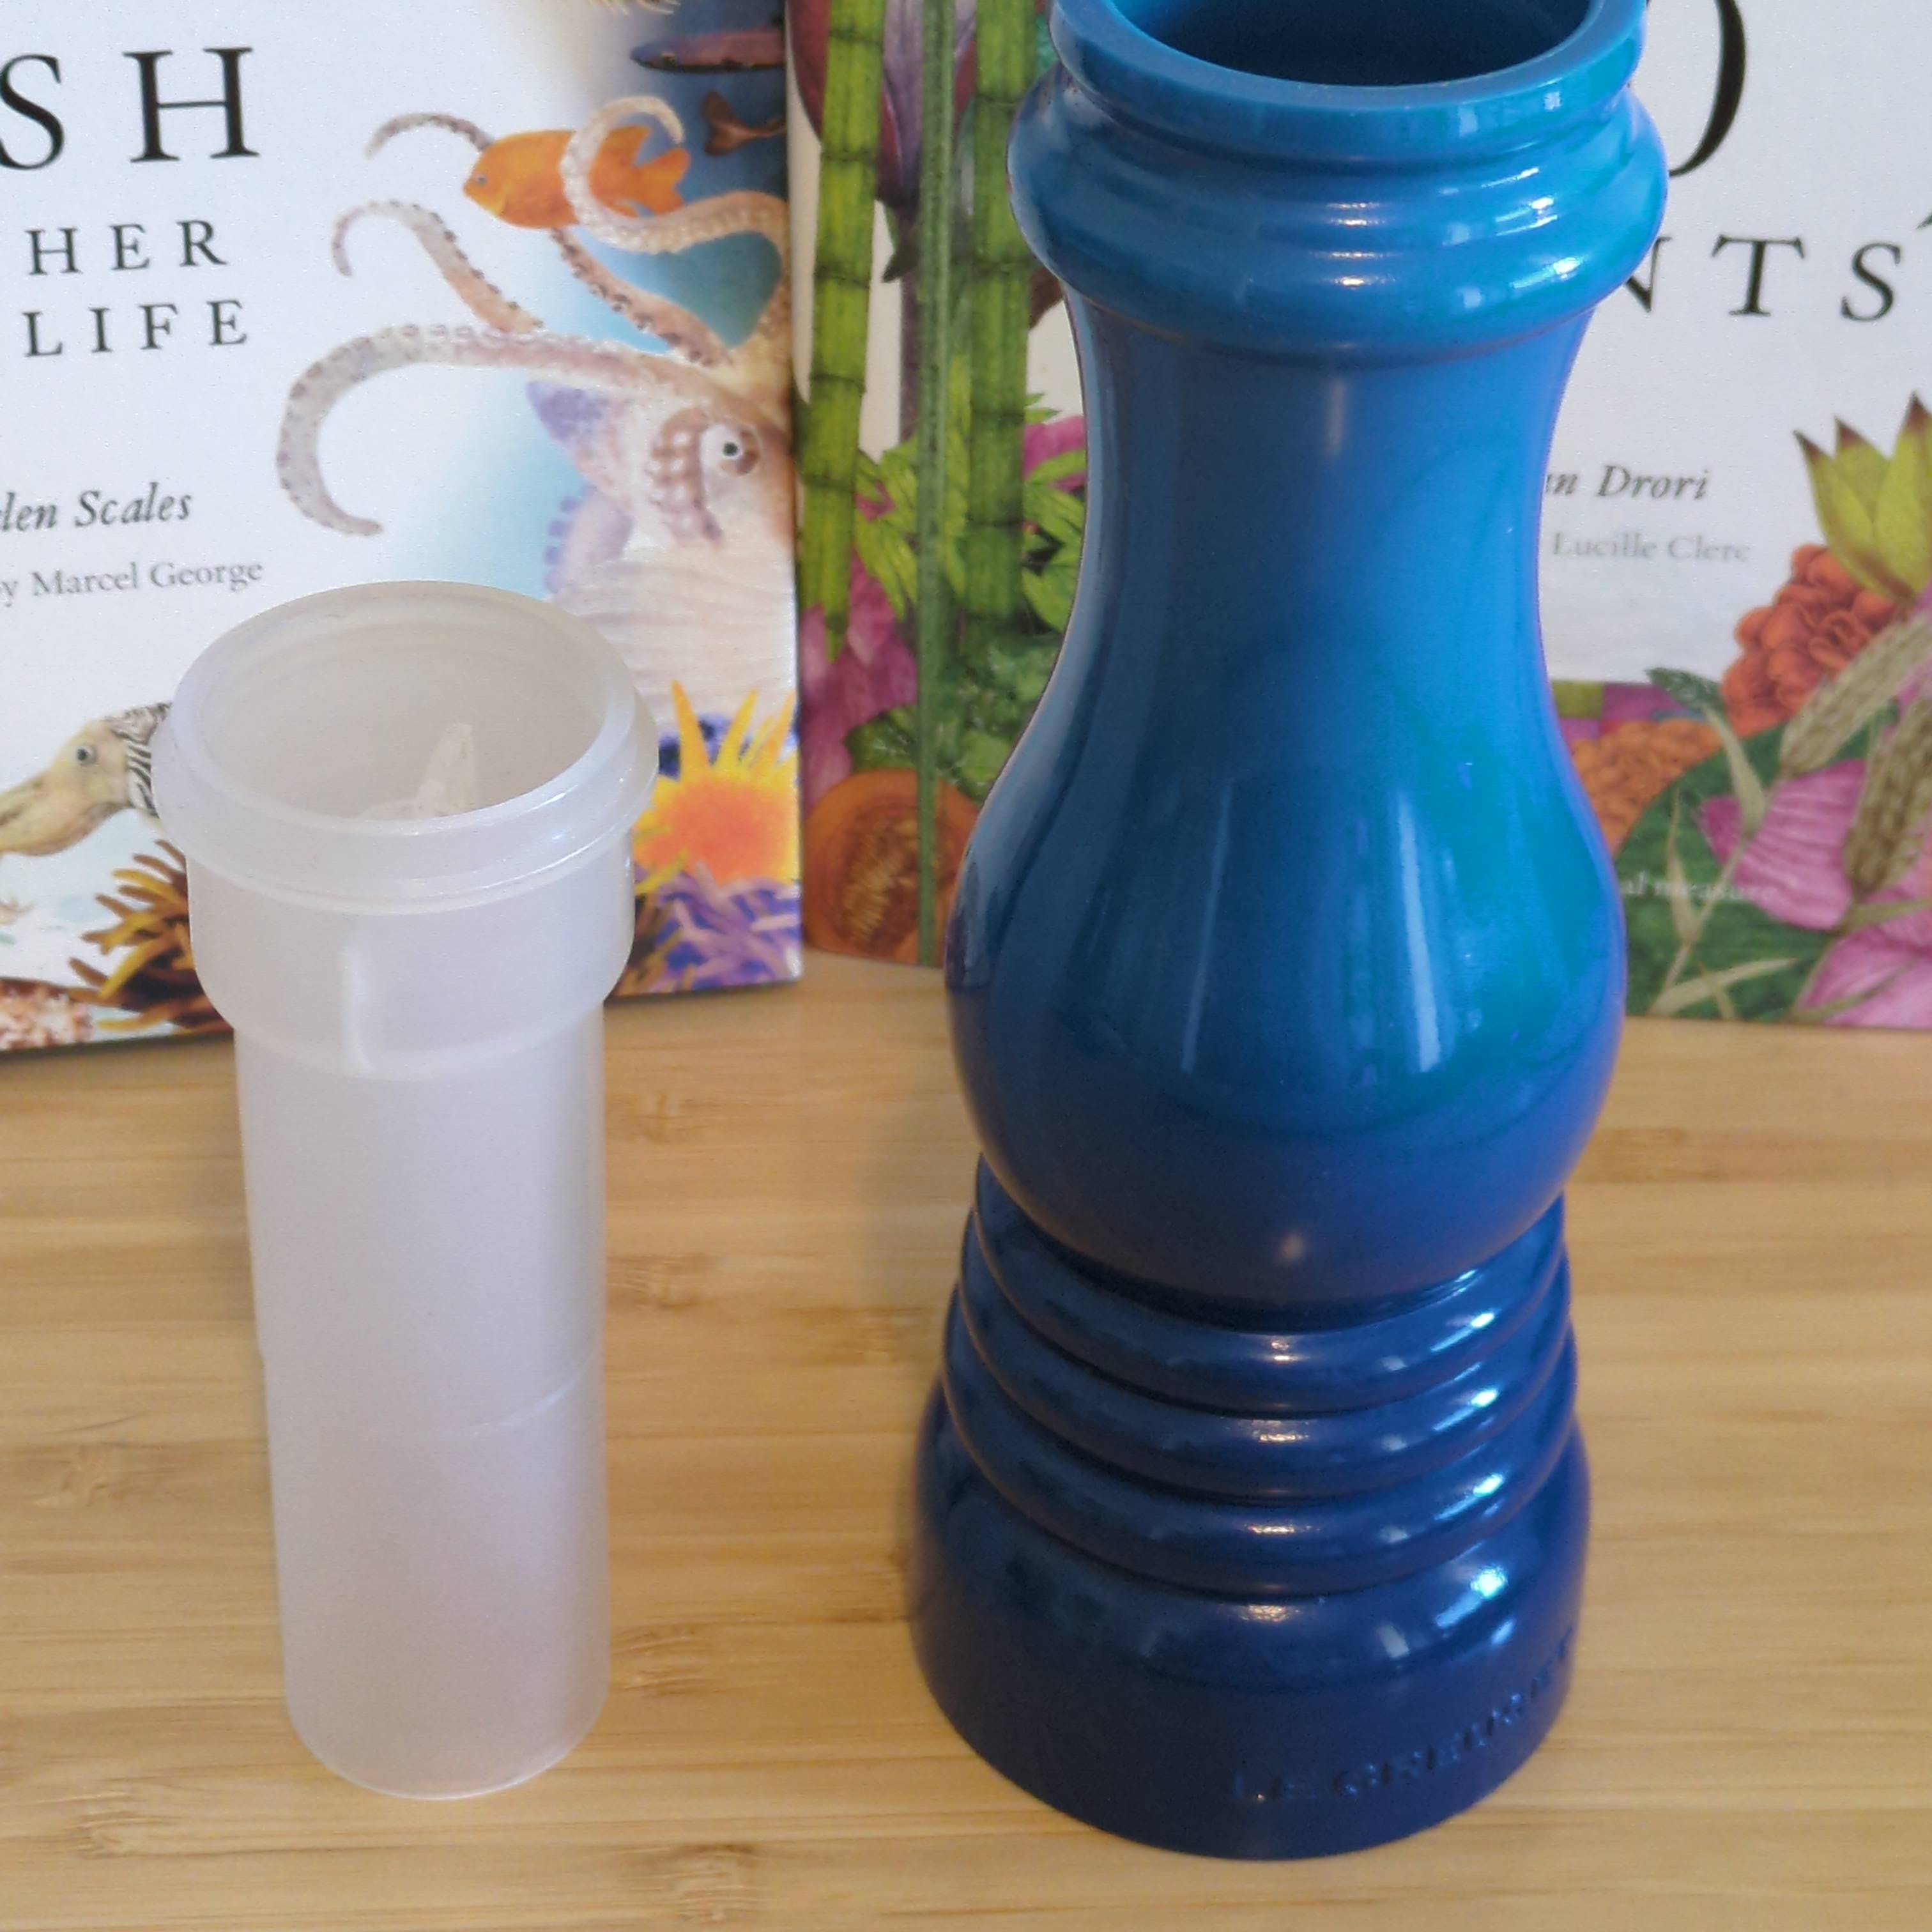
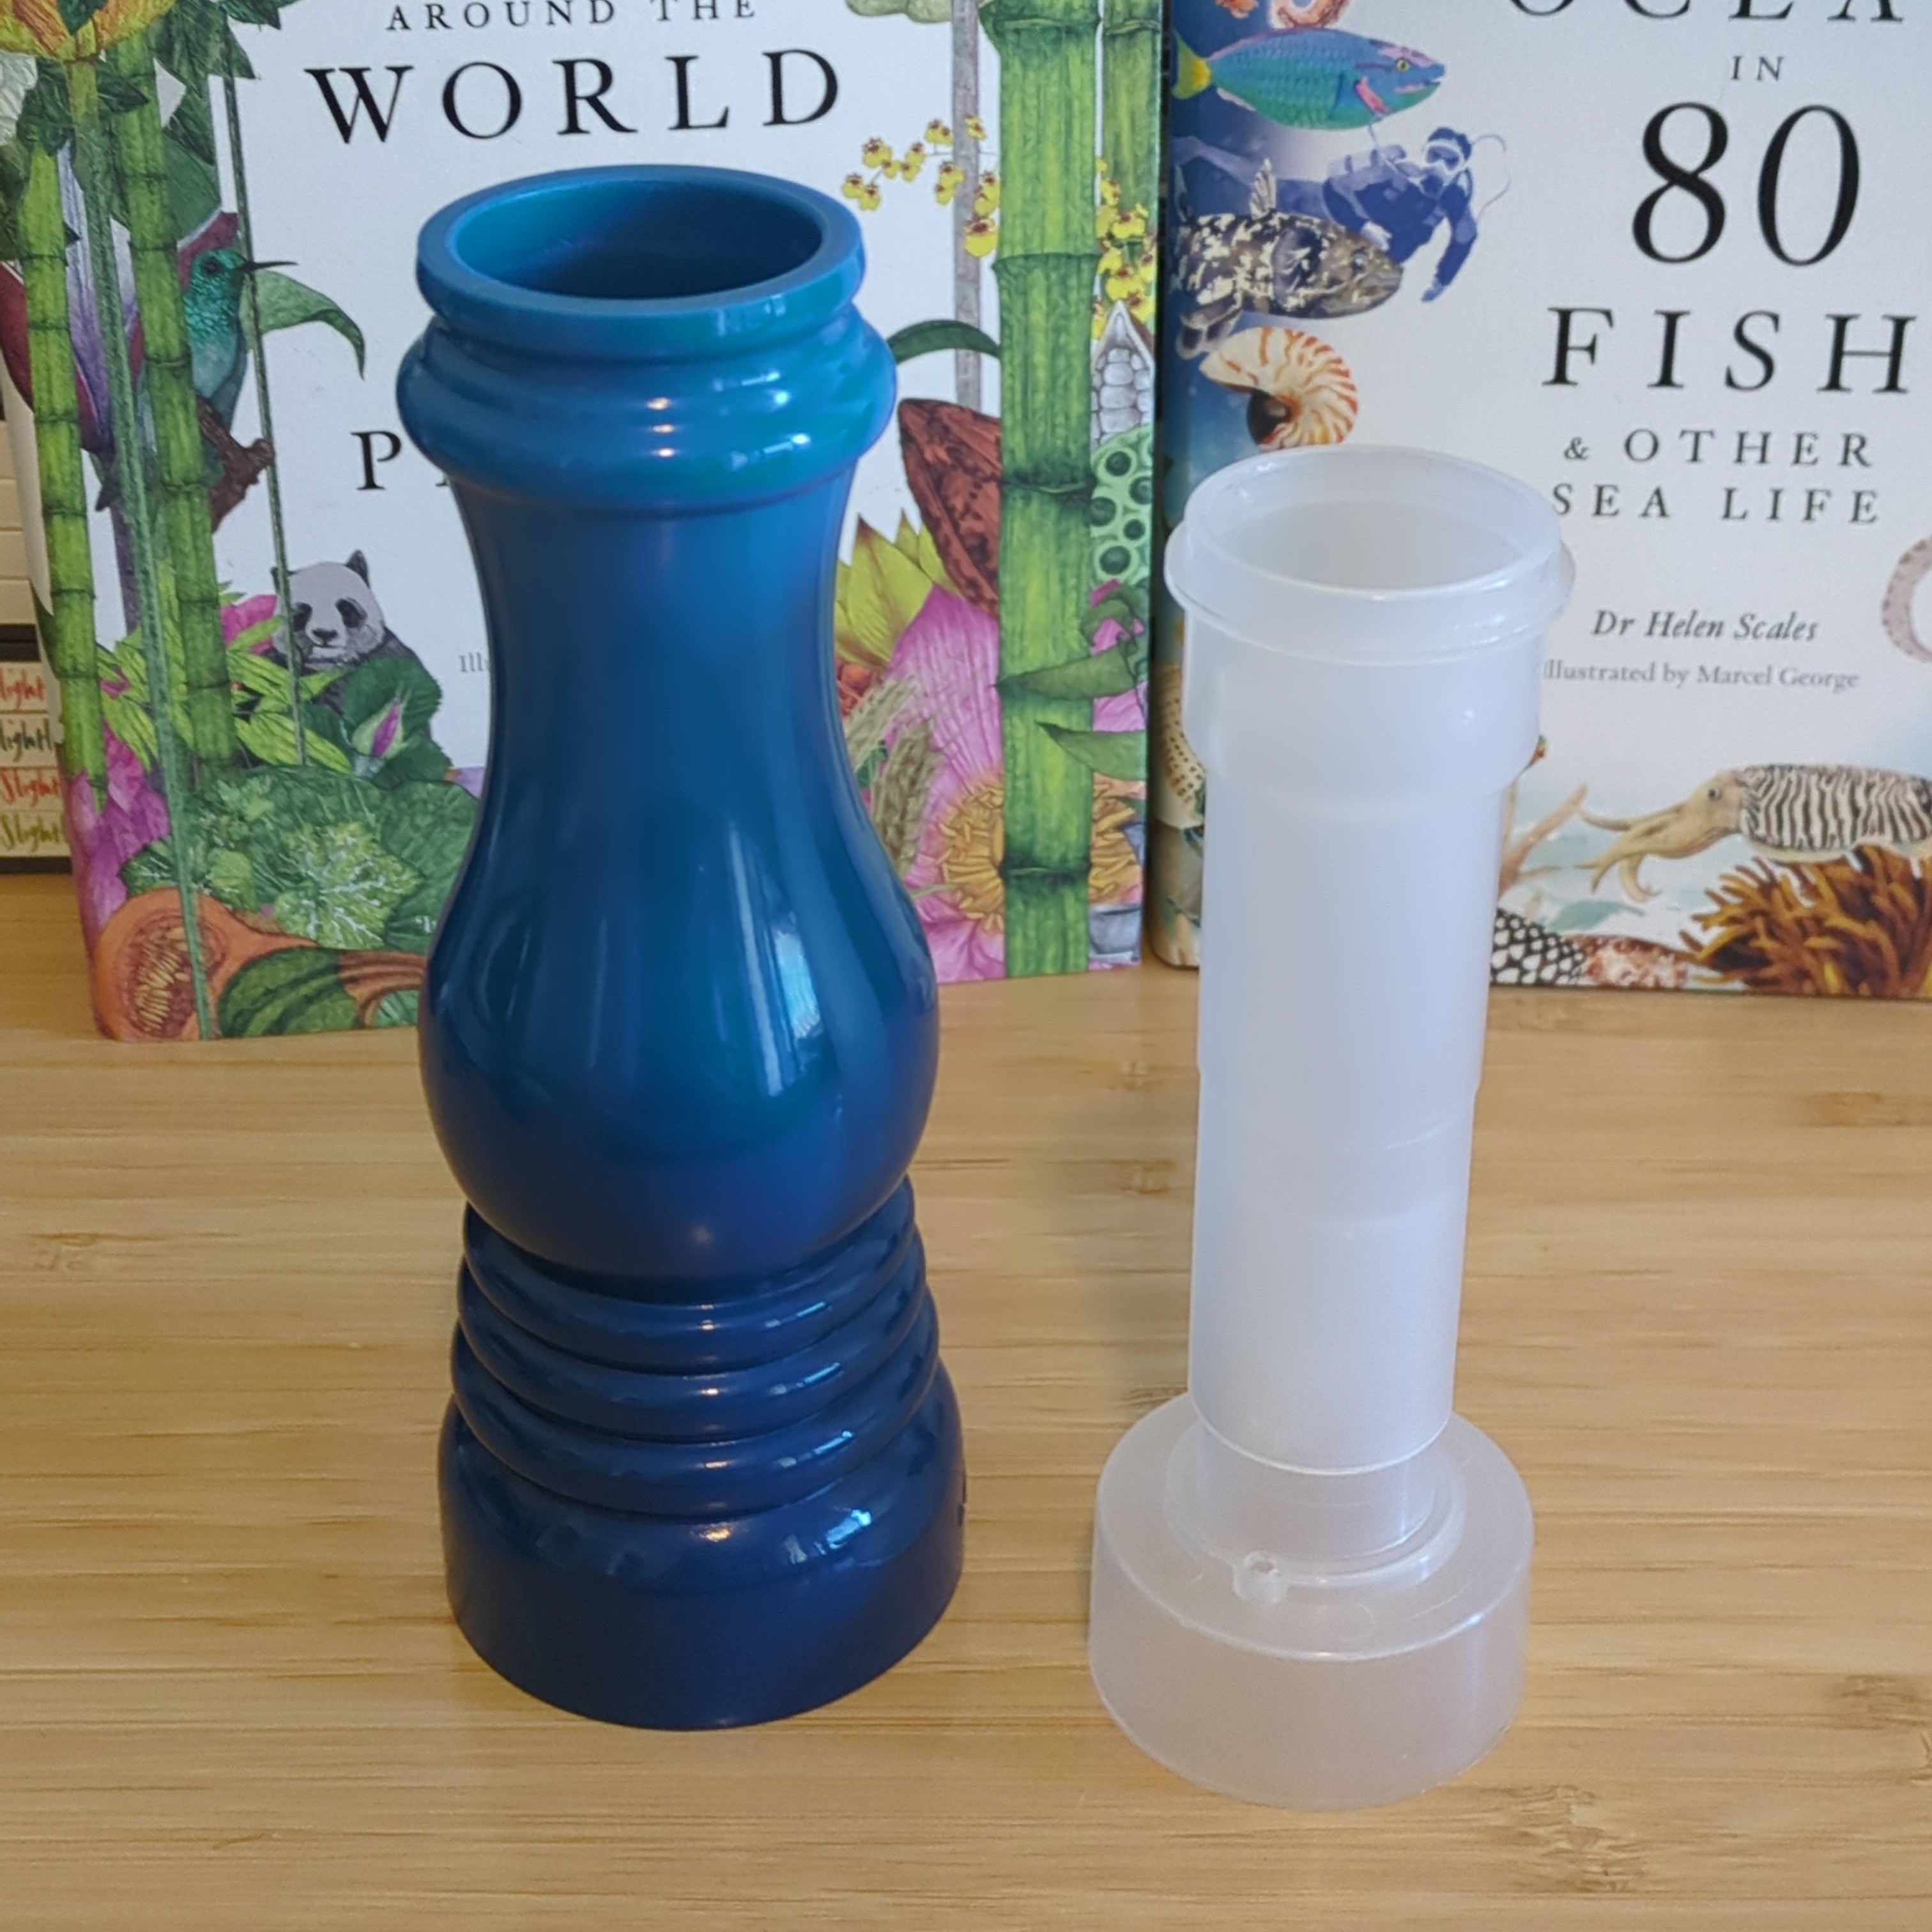
Despite that, it is a nice grinder, so I don't want to replace it. I just wanted something other than it to add to our counter top. I went looking on a local kitchen supply company's site, and came across the Ortwo Lite grinder. It was the right price (neither cheap nor Peugeot mill expensive), and I liked the concept. Upon ordering it, I decided that I would switch to using it for pepper, and bring the Le Creuset back home to it's officially labelled purpose (via the S on the top knob) and use it for salt. None of the issues above really change for salt, but I don't use salt in the same quanitity as pepper, so I think I'll be a bit better off regardless.
Today I decided I would make the switch, especially after trying the Ortwo to grind pepper this morning, and loving the way it works. It isn't quite comfortable for me one handed, I think because of my larger hands, but also because the arms flex a bit and don't come together quite how I expect. I think I'll get used to it, but either way, I've only ever had a two-handed grinder before, so the single-handed feature wasn't the main thing I wanted. The two-handed mode is amazing and I think will genuinely make grinding peppercorns much more enjoyable while cooking than with the Le Creuset.
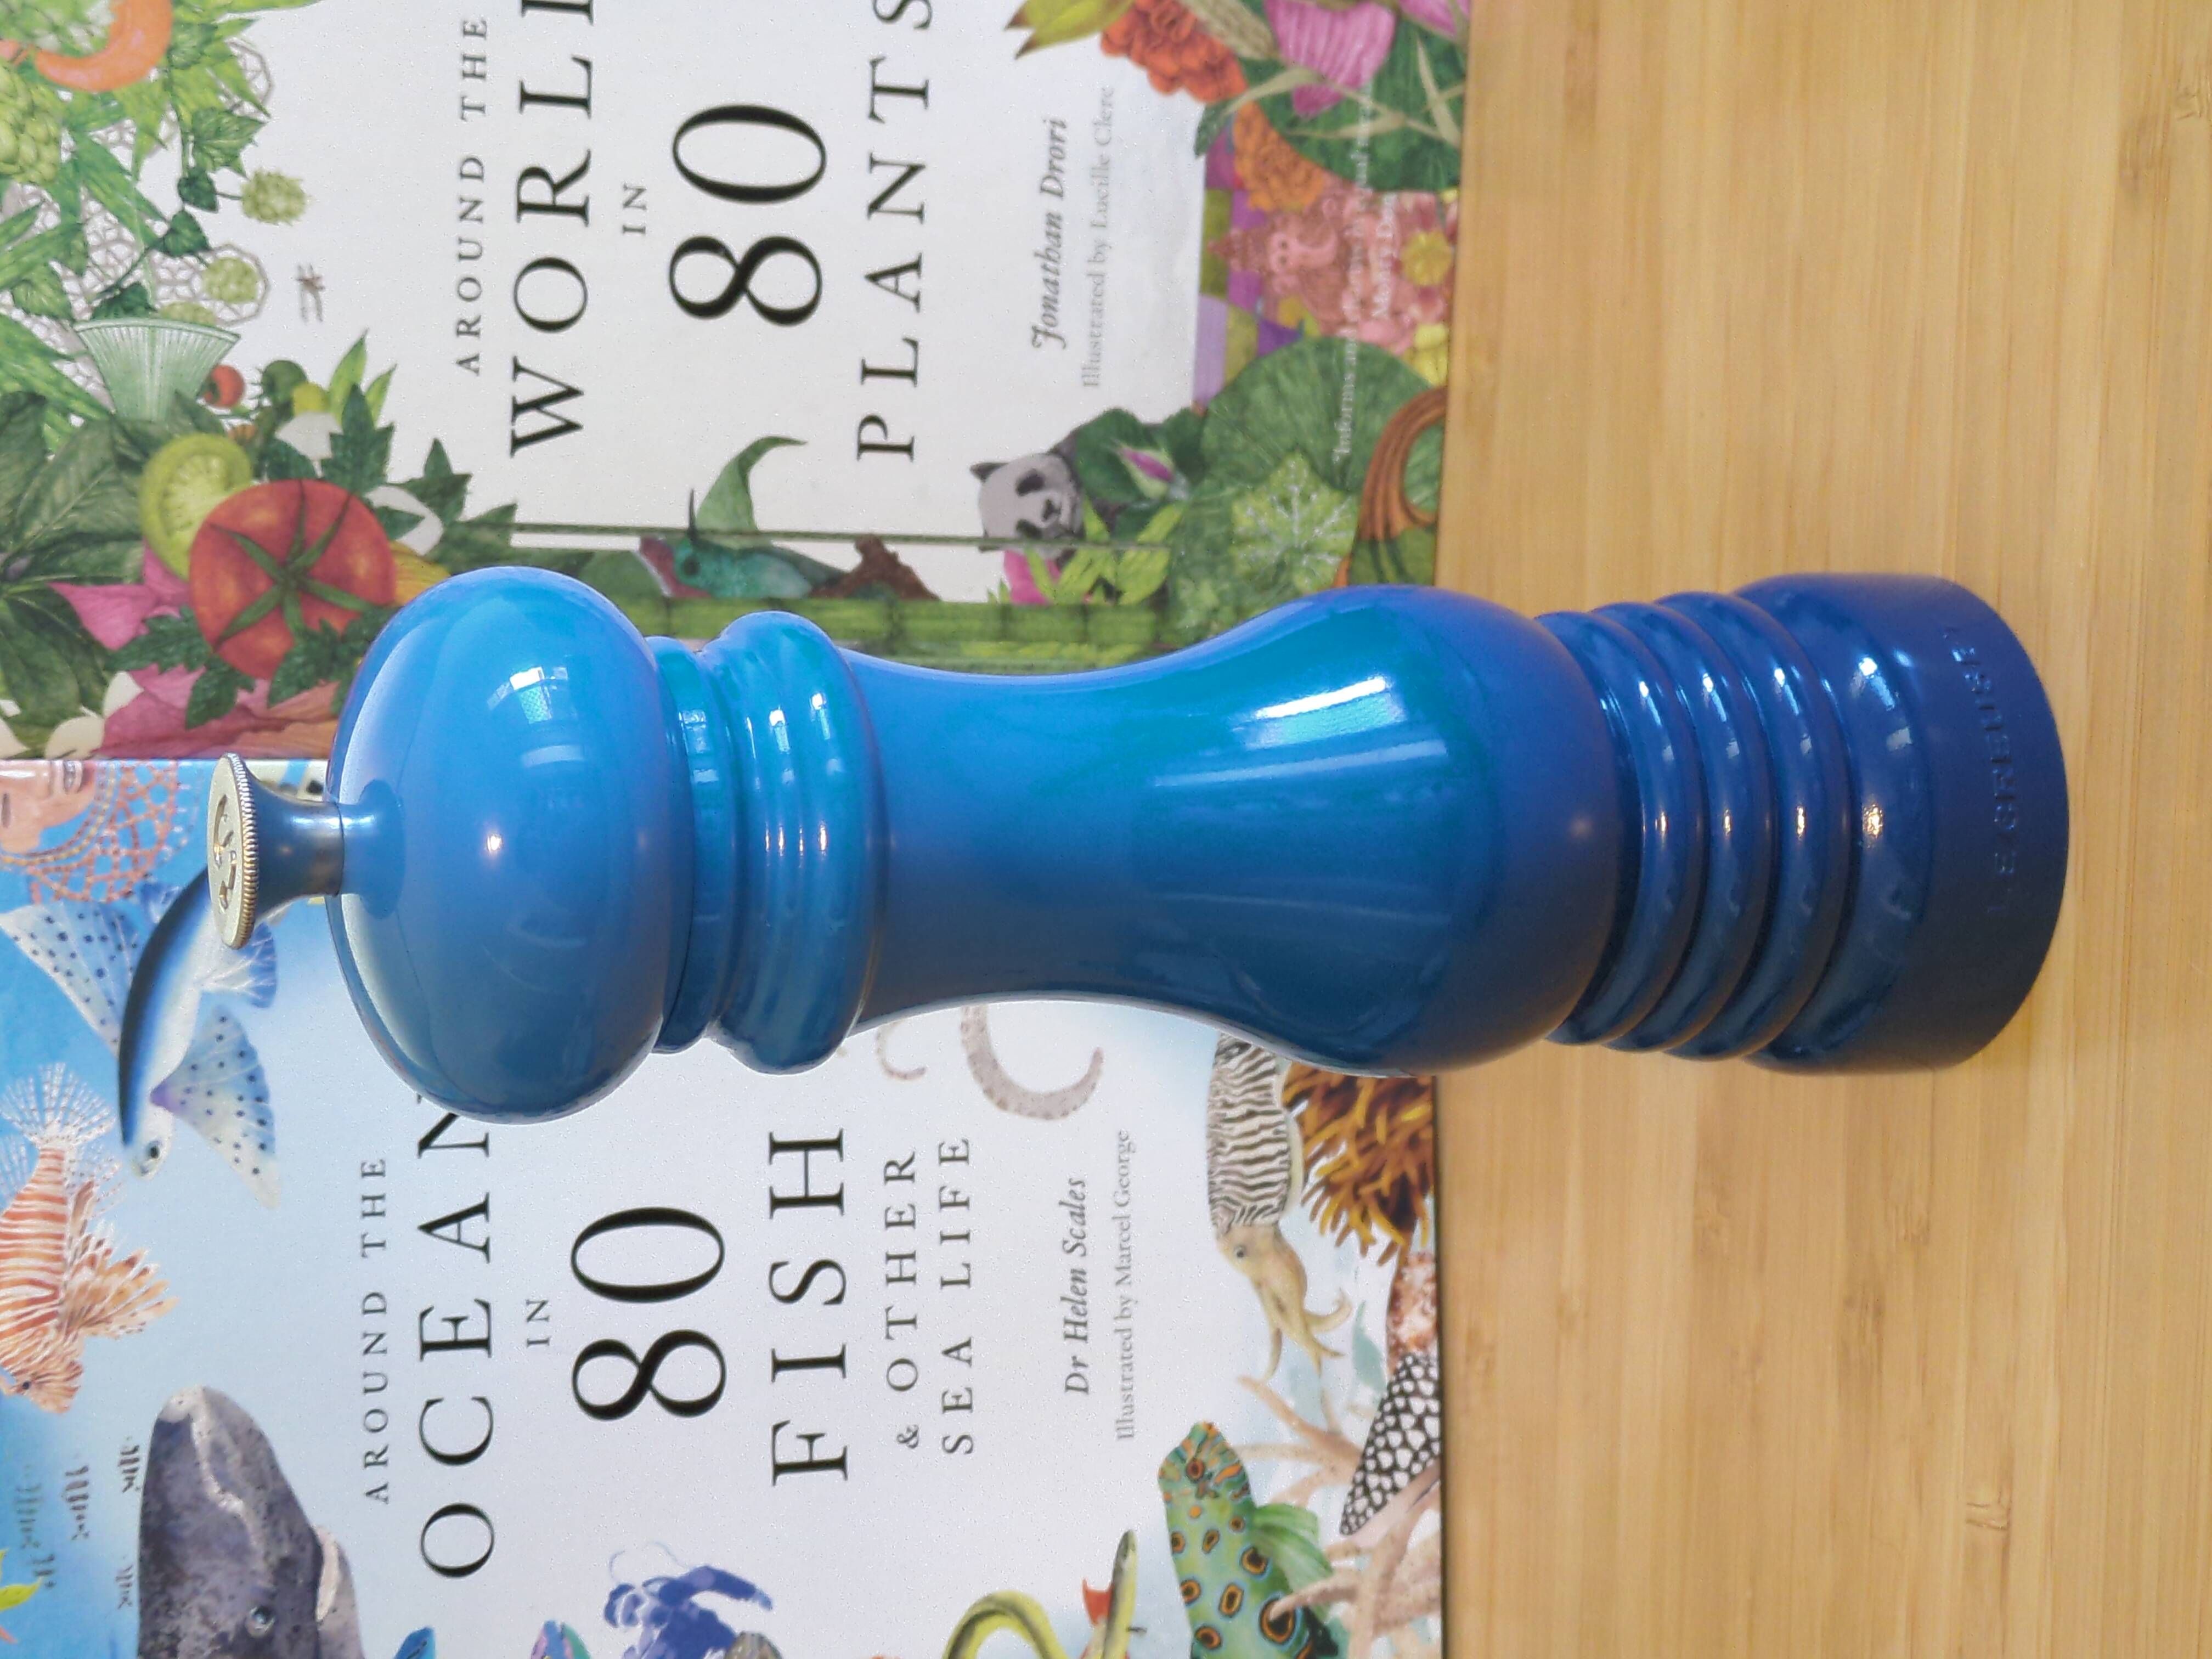
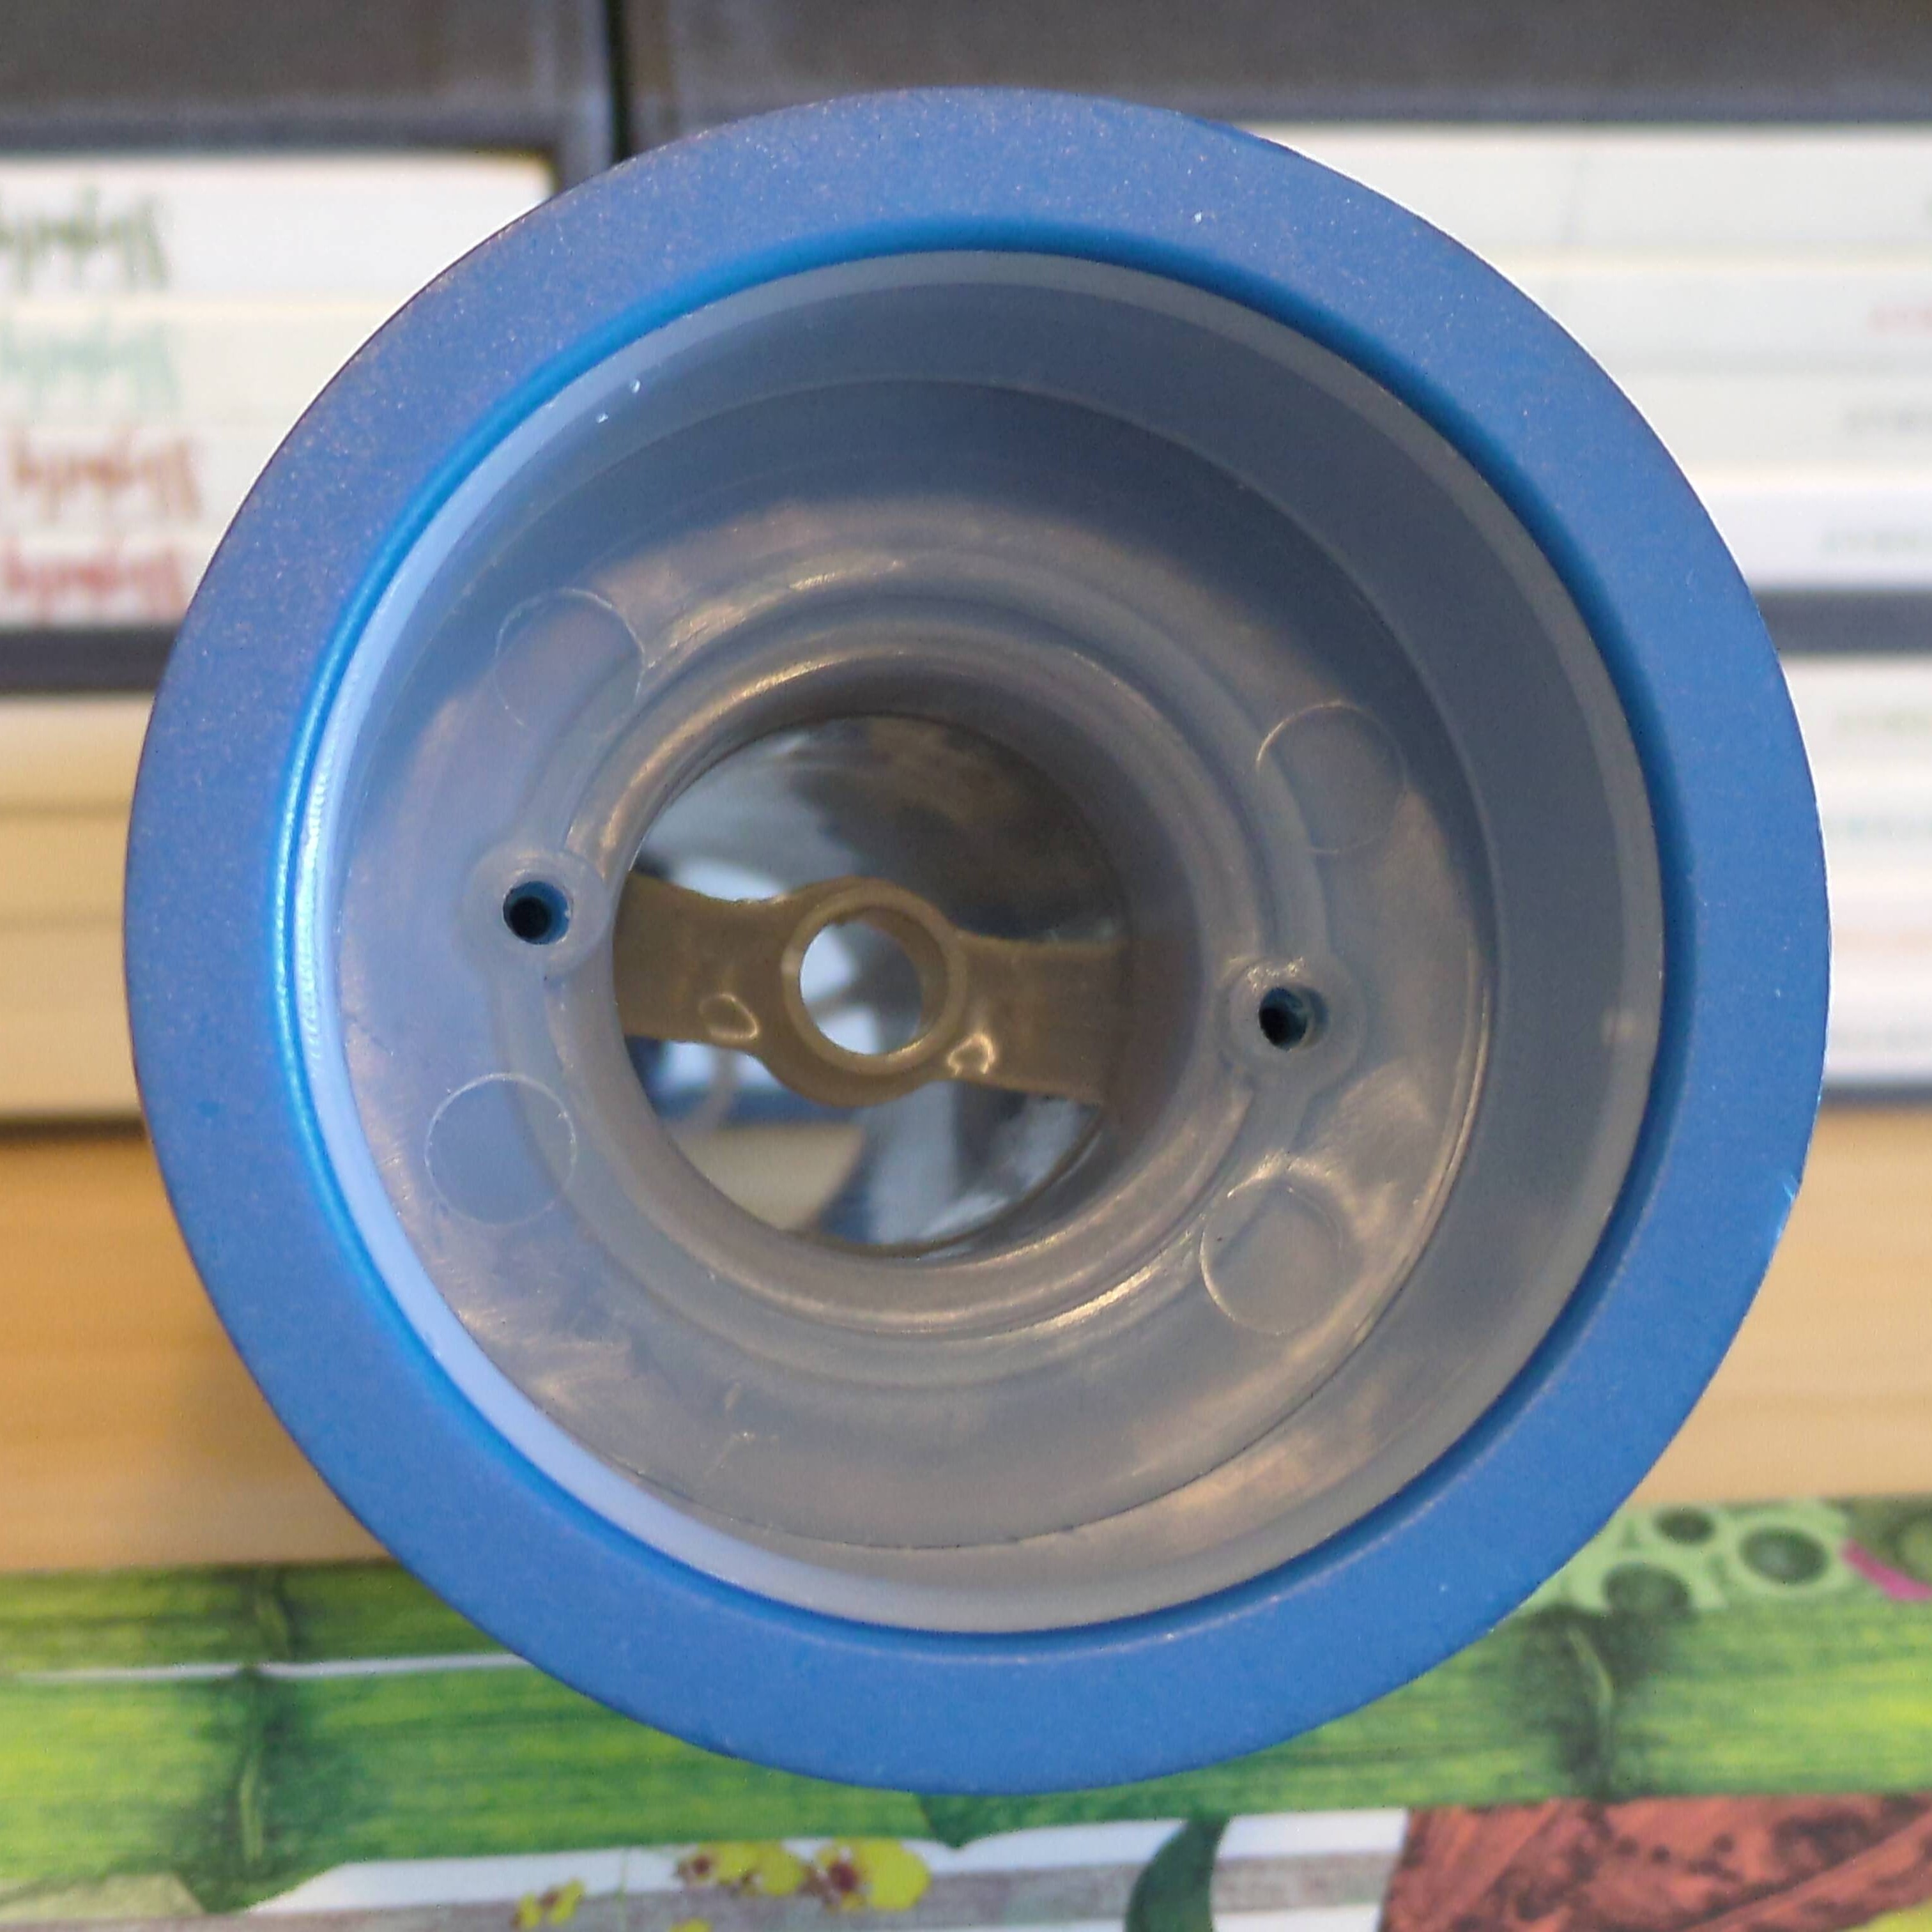
So, I emptied the remaining peppercorns out of the Le Creuset and into the Ortwo jar, and decided I'd give the Le Creuset a bit of a wipe down on the inside to get it ready for a new resident. There are no detailed cleaning instructions from Le Creuset available for their mill grinders, but I figured I could just pull the thing apart, blow out any pepper particles with the air pump I use to blow dust off my camera lenses, brush off the burrs, and call it a day. However, once I removed the metal bracket that retains the burrs and the centre column, I was treated to a nasty surprise! Over the years of owning this grinder, a huge amount of teeny tiny particles of peppercorns had ended up between the inner plastic collar and the exterior form of the mill. I don't have a picture of this, but it was a big surprise to me, as there was no evidence that this was happening when looking at the grinder fully assembled. This is the photo of the grinder after I've cleaned it, but it really looked almost this clean, aside from obvious dustiness!
Once I set to disassembling it, the area behind the metal bracket pictured above, was itself quite dusty with peppercorn residue (which I expected, and was what I intended to wipe away), but behind the plastic collar was a surprising amount of peppercorn bits. I don't have a photograph of it (I didn't think to take one at the time), but believe me, it was not pretty! Not to mention, I didn't feel great about the fact that biological matter was floating around in a confined space inside one of the tools I use in most of my cooking! I was eager to clean it.
However, as I said above, Le Creuset provides no guidance for how to disassemble the mill, not even a diagram of the grinder assembly. Taking the centre column out and cleaning the burr assembly was actually pretty straightforward, and I'm not even that surprised that I couldn't find explicit instructions anywhere online describing the process. After all was said and done, though, I really wanted to share how I accomplished this so that others wouldn't have to play the same guessing game I did, or get discouraged at the start and throw away an otherwise serviceable ceramic mill.
Instructions
Only do this if you are okay causing irreperable damage to your mill! Mine was dirty enough that I didn't want to use it if I couldn't clean it, so I was fine trying this despite the risk. I am not responsible if you break your mill attempting these instructions.
Removing the metal bracket
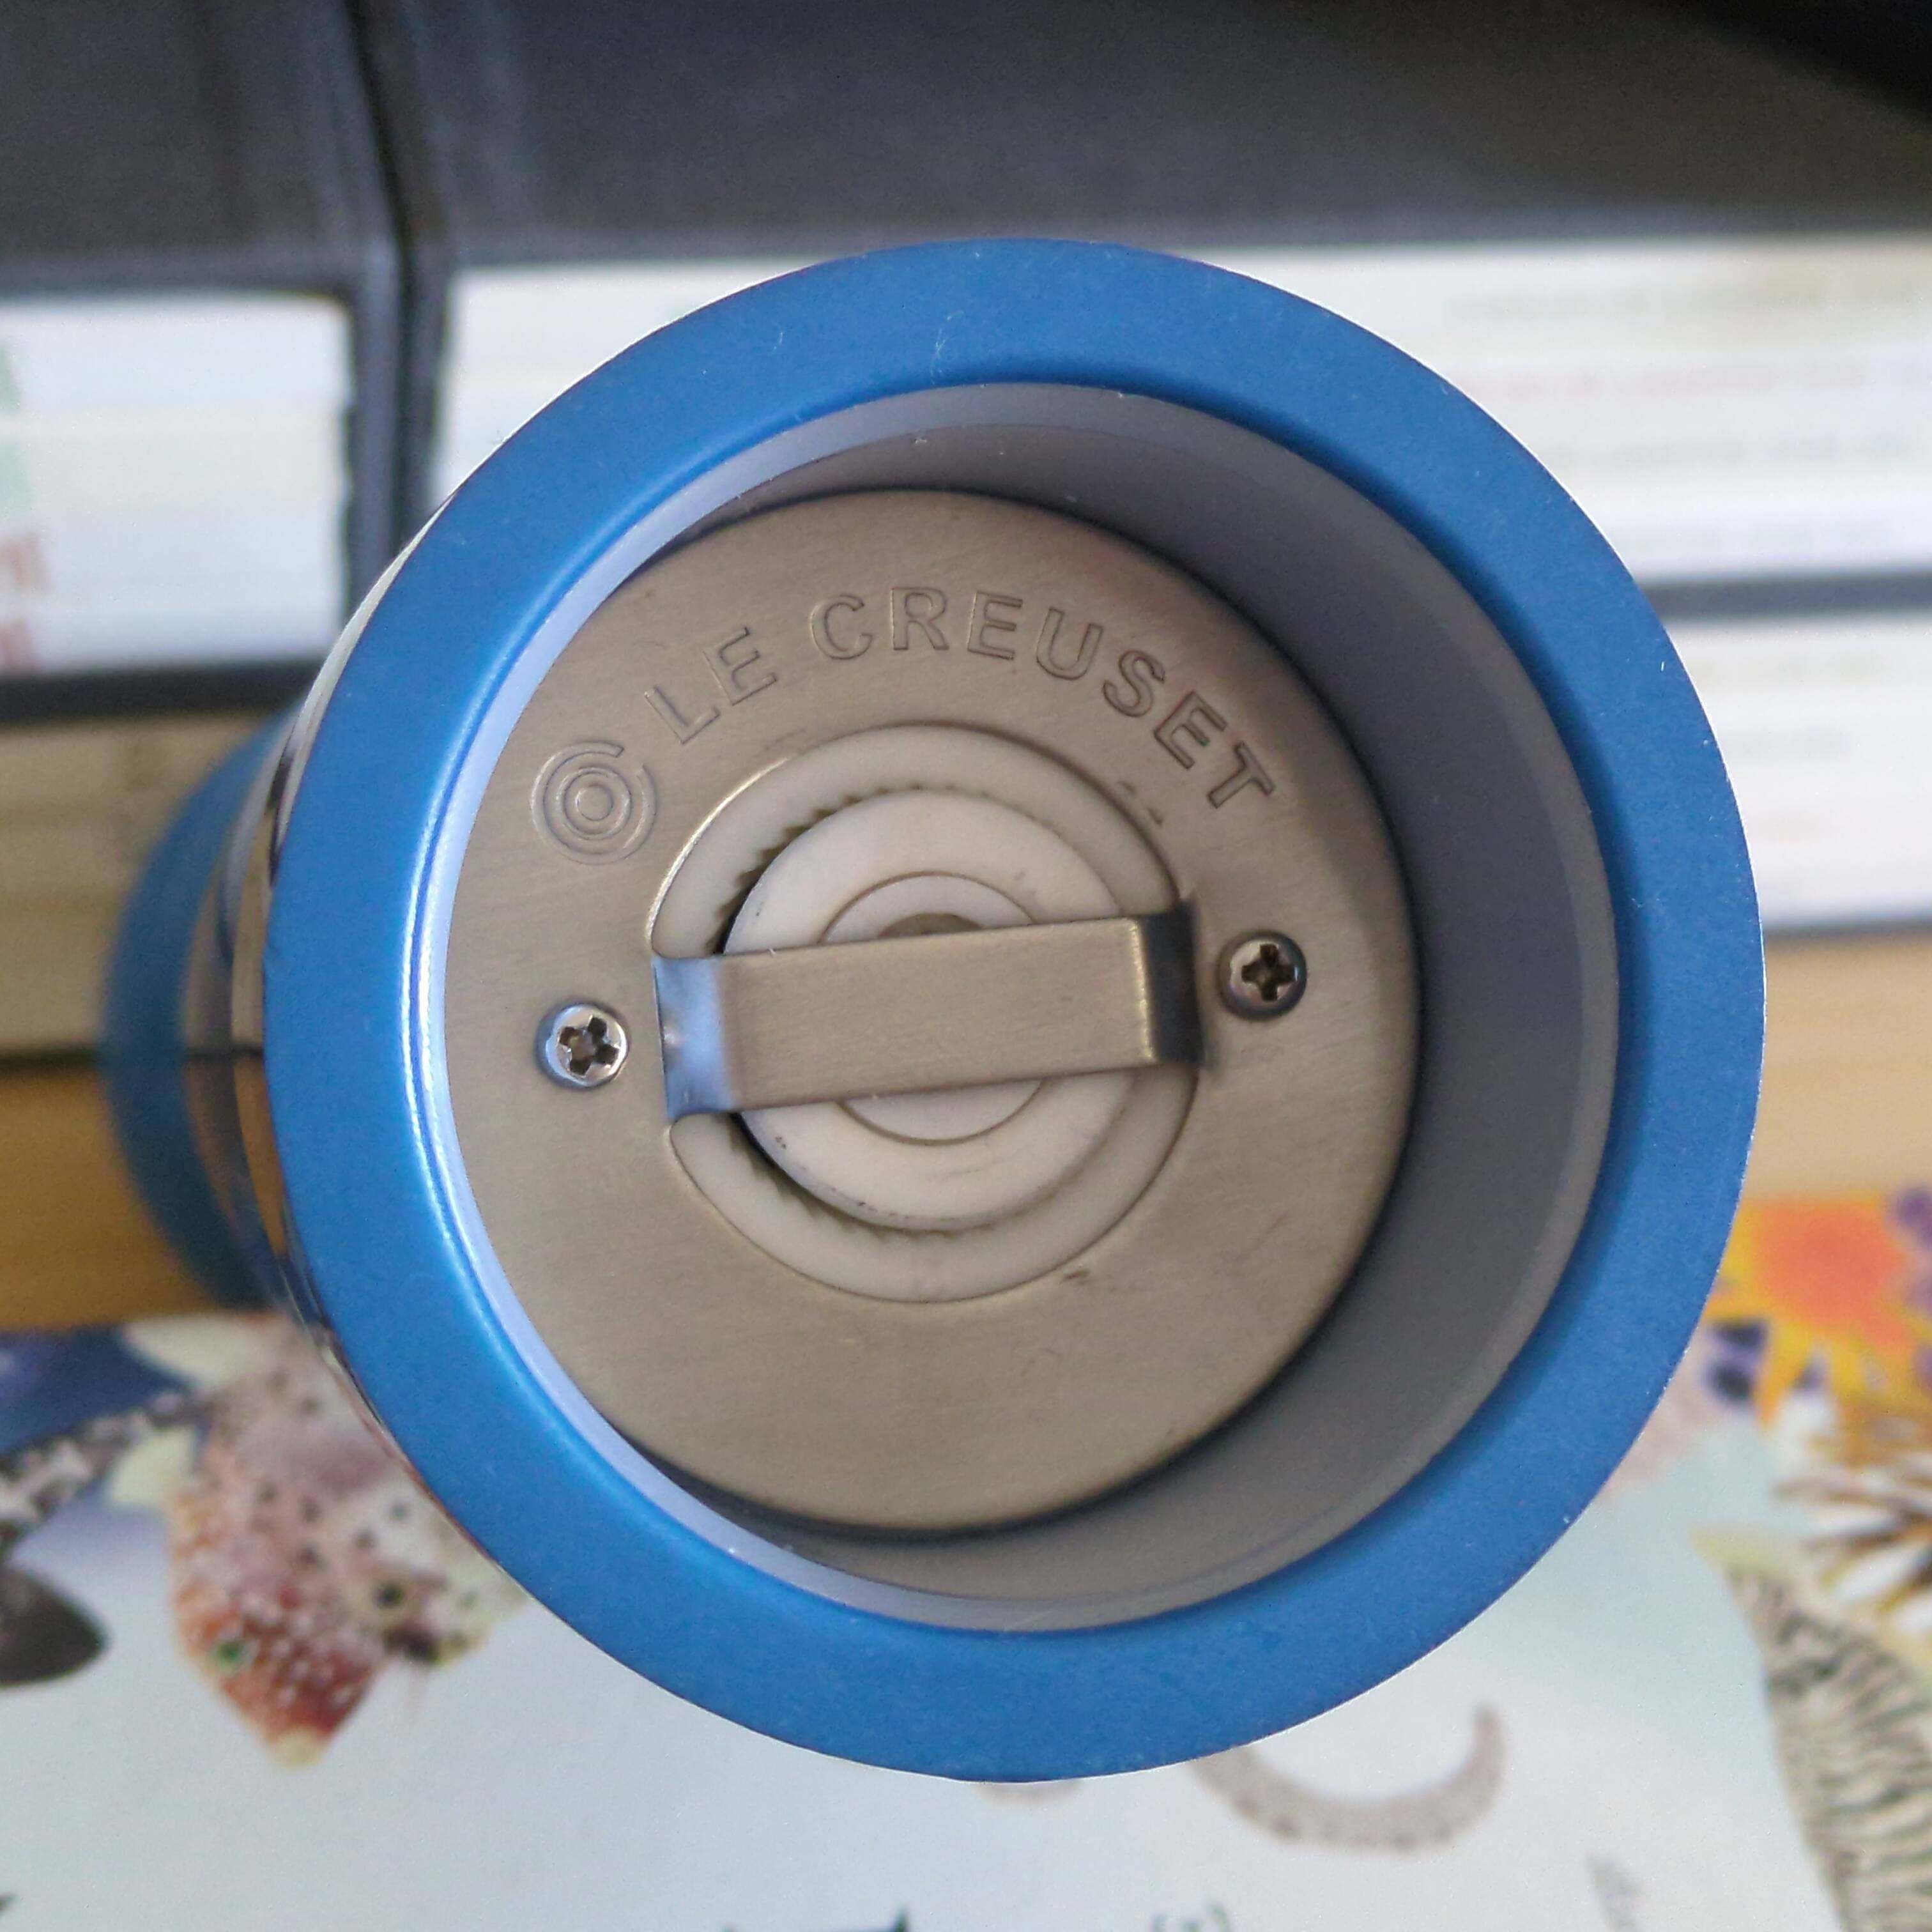
With the lid on and top knob tightened, unscrew the two screws securing the metal bracket on the bottom of the mill. Keeping the lid on and tightened prevents the centre column from pushing against the metal bracket while you are removing it, making the process easier, and reducing the likelihood of the metal bracket popping off from the force of the centre column, potentially throwing one of the tiny screws across the room.
Even after removing the two screws, the metal bracket might stay in place. This is probably due to the pressure applied to the metal bracket by the screws, and the tight tolerances of the assembly. Use your fingers or a soft tool to pull the metal bracket away from the burrs. It should pull away without any trouble and with not much force required.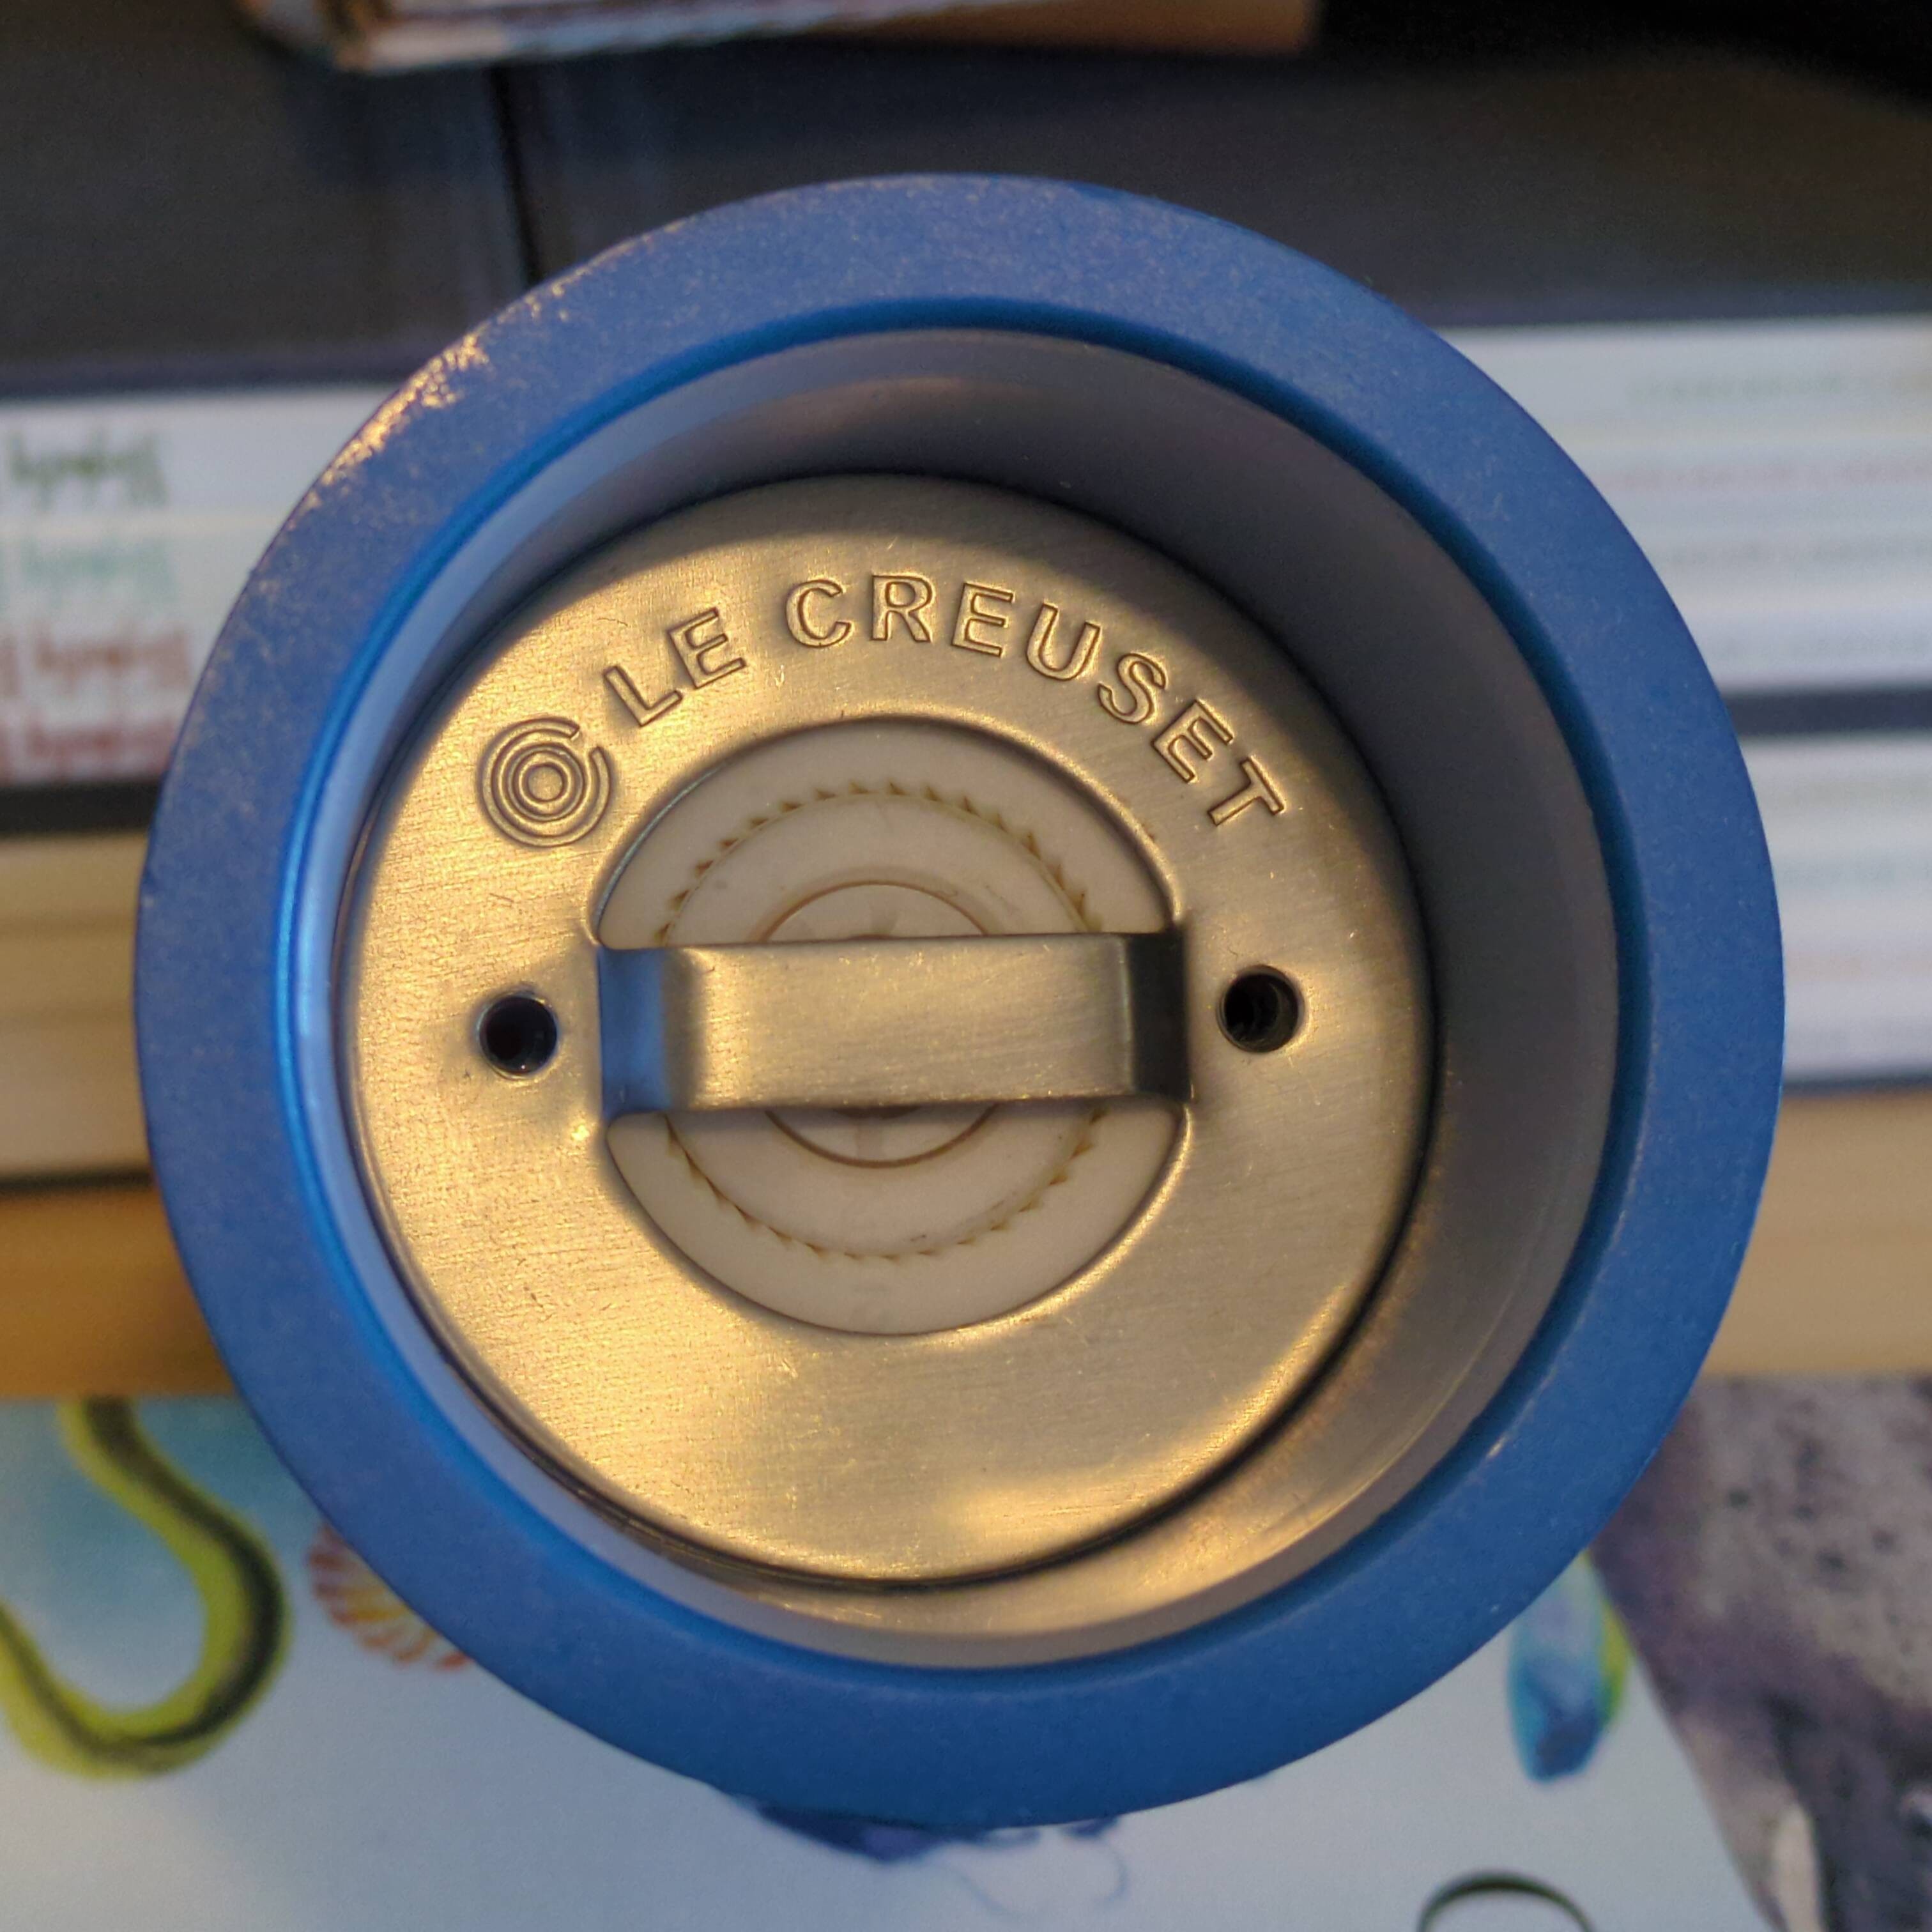

Releasing the centre column and burr assembly
At this point, the top knob and lid are still securing the centre column and burr assembly. With your hand cupping the bottom of the mill, hold the mill vertically and slowly unscrew the top knob until the center assembly releases. You will feel it spring into your hand, with a few different pieces now very obviously moving freely around the centre column. Still holding the centre assembly in your hand, pull the exterior of the mill up and off of the centre assembly. Put the exterior of the mill off to the side, and grab the centre assembly by the centre column, and observe the order of parts. Take a photograph of the centre assembly for reference during re-assembly.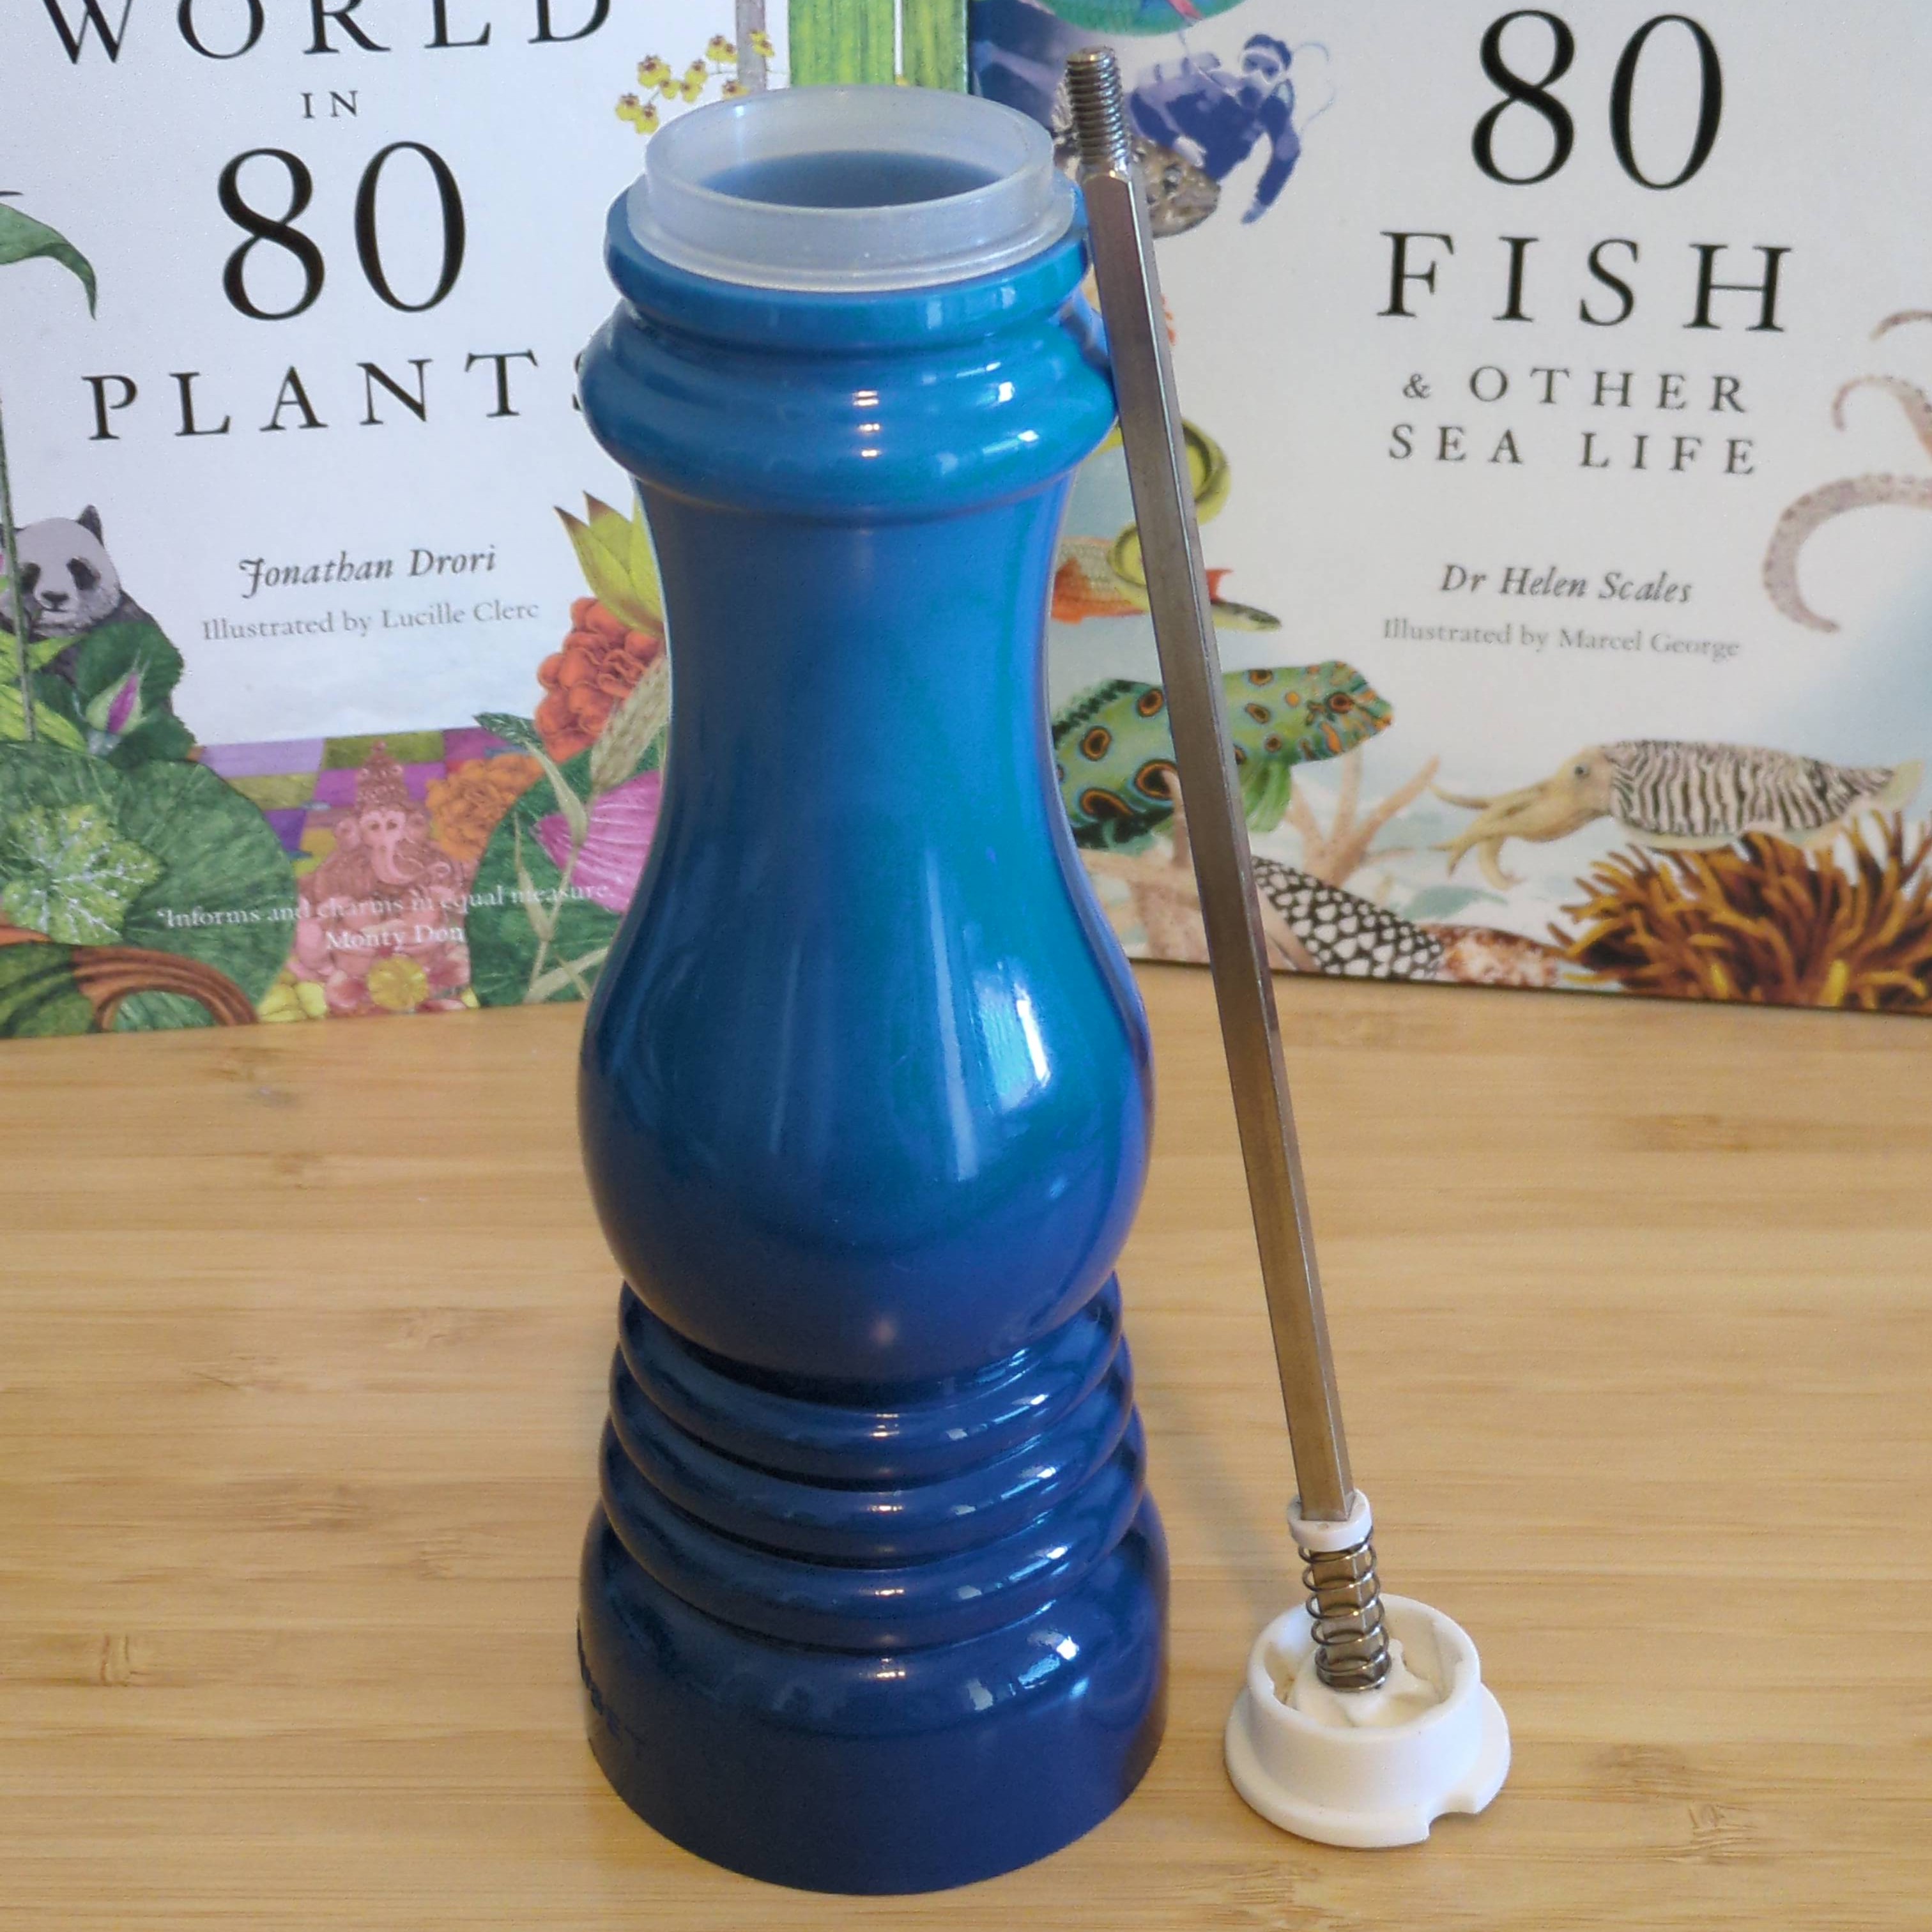
Cleaning the centre column and burr assembly
Now that you have a photograph showing how the centre assembly comes together, pull each piece off one by one, and clean it. An old tooth brush is good for cleaning the grooves in the ceramic burrs. Use whatever soap you feel comfortable with if needed, but I was able to get by with just water and a brush. If I had to use soap, I'd probably stick to a gentle hand soap.
I do not believe there is anywhere to purchase replacements for these parts, so treat them with the care and be sure not to lose them!
After I was done cleaning these pieces, I dried them with a towel, and then placed them in a bowl of rice for several hours to make sure all the moisture was soaked away.
Removing the plastic collar from the mill exterior
This is the riskiest part. Absolutely do not move forward if you are concerned about damaging your mill, potentially beyond repair.
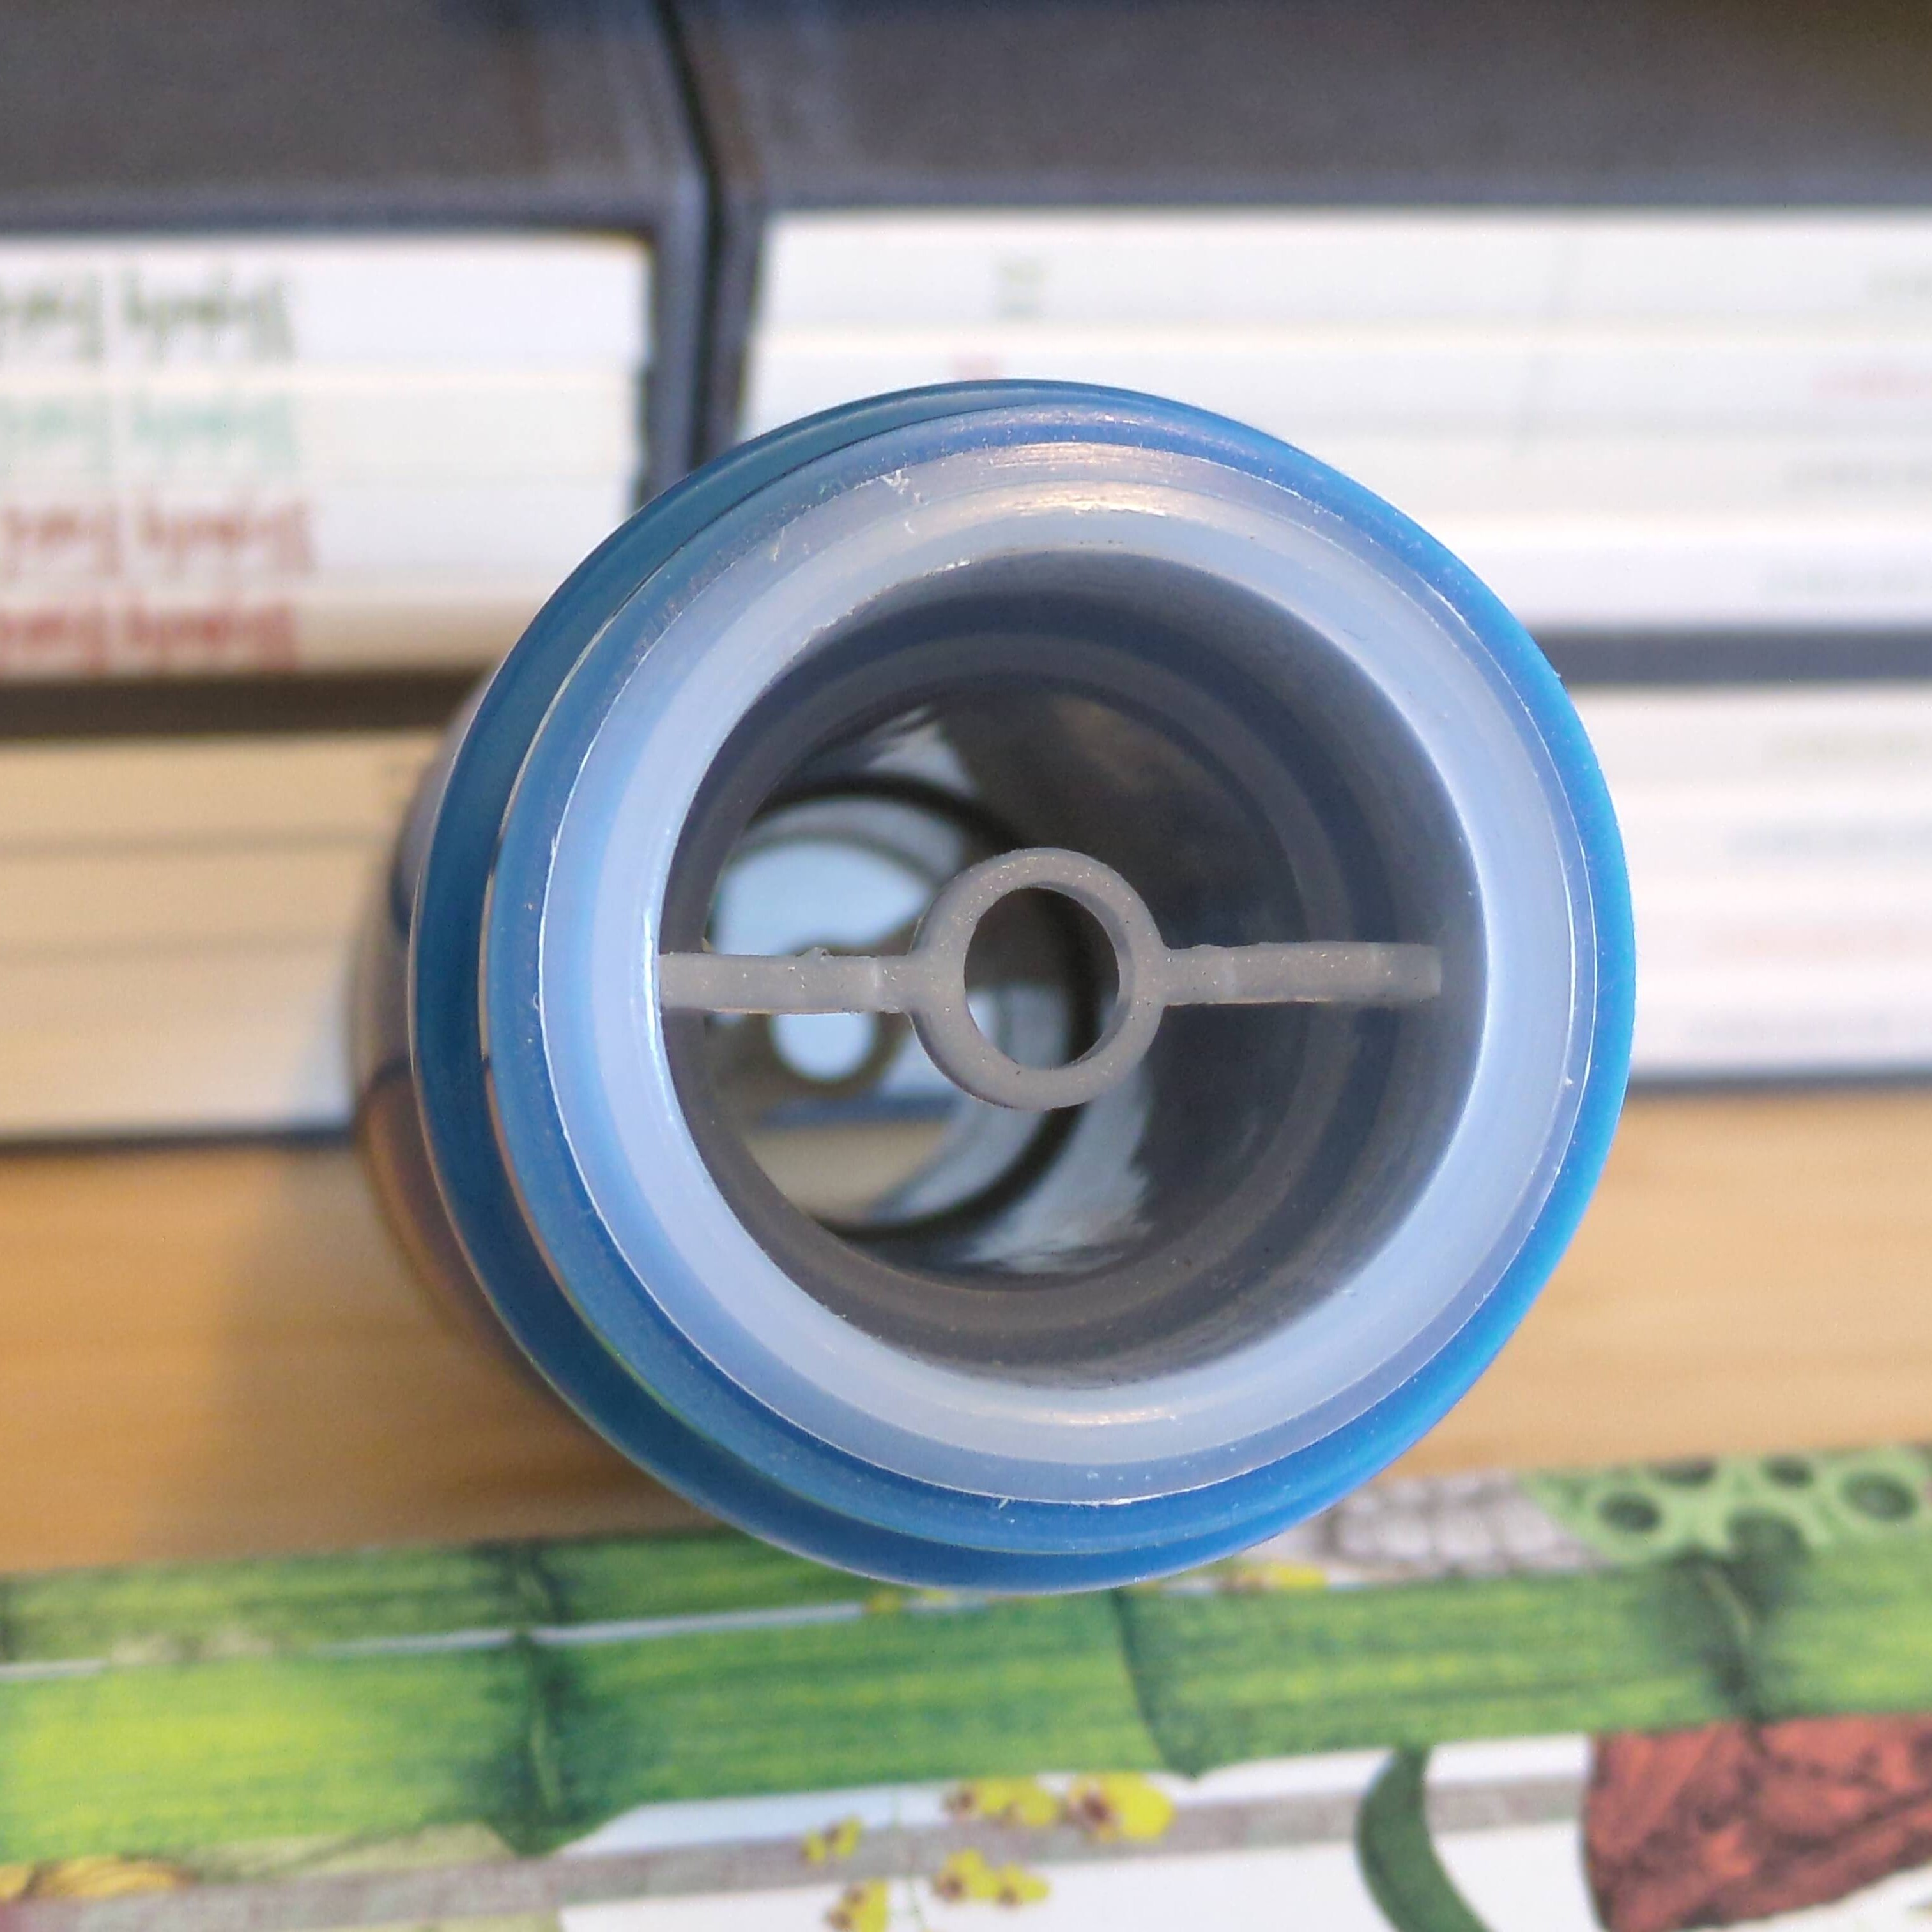
This is the juicy part, and the step I could find no information about online, but was critical to being able to remove the gunk sitting between the plastic collar and the body of the mill. I tried a few different things, but what ultimately worked was to place two pieces of rubber on the inside of the top plastic collar, and then use a set of pliers to push out against the rubber, and then twisting and pulling the collar up and out. I used scraps of rubber pads left over from a plumbing project. While twisting, you must minimise pressure exerted on the two plastic supports extending through the center of the top collar. These are less fragile than I assumed, but mine have obvious stress lines from where I was not careful enough in twisting the first time I did this.
This twisting and pulling procedure requires a surprising amount of force pushing against the inside of the top plastic collar. I held the mill between my legs and had to twist back and forth several times, and had to reset the pliers back into the collar after the slipped too far out to exert enough pressure on the rubber. Once you have the collar removed enough to grip the exterior with the rubber pads, I'd recommend stopping the plier method, and twisting the collar out by hand. You could use kitchen gloves if you don't have rubber pads large enough. Just twist on the now slightly more exposed exterior of the collar, and pull it out. It should come out much easier now.
While this works, I think there is a better way, which I discovered while removing the bottom collar. To remove the bottom collar, use a long phillips head screwdriver with a shaft larger than the hole in the centre support. Gently push straight down on the centre support, and the bottom part of the plastic collar should pop out.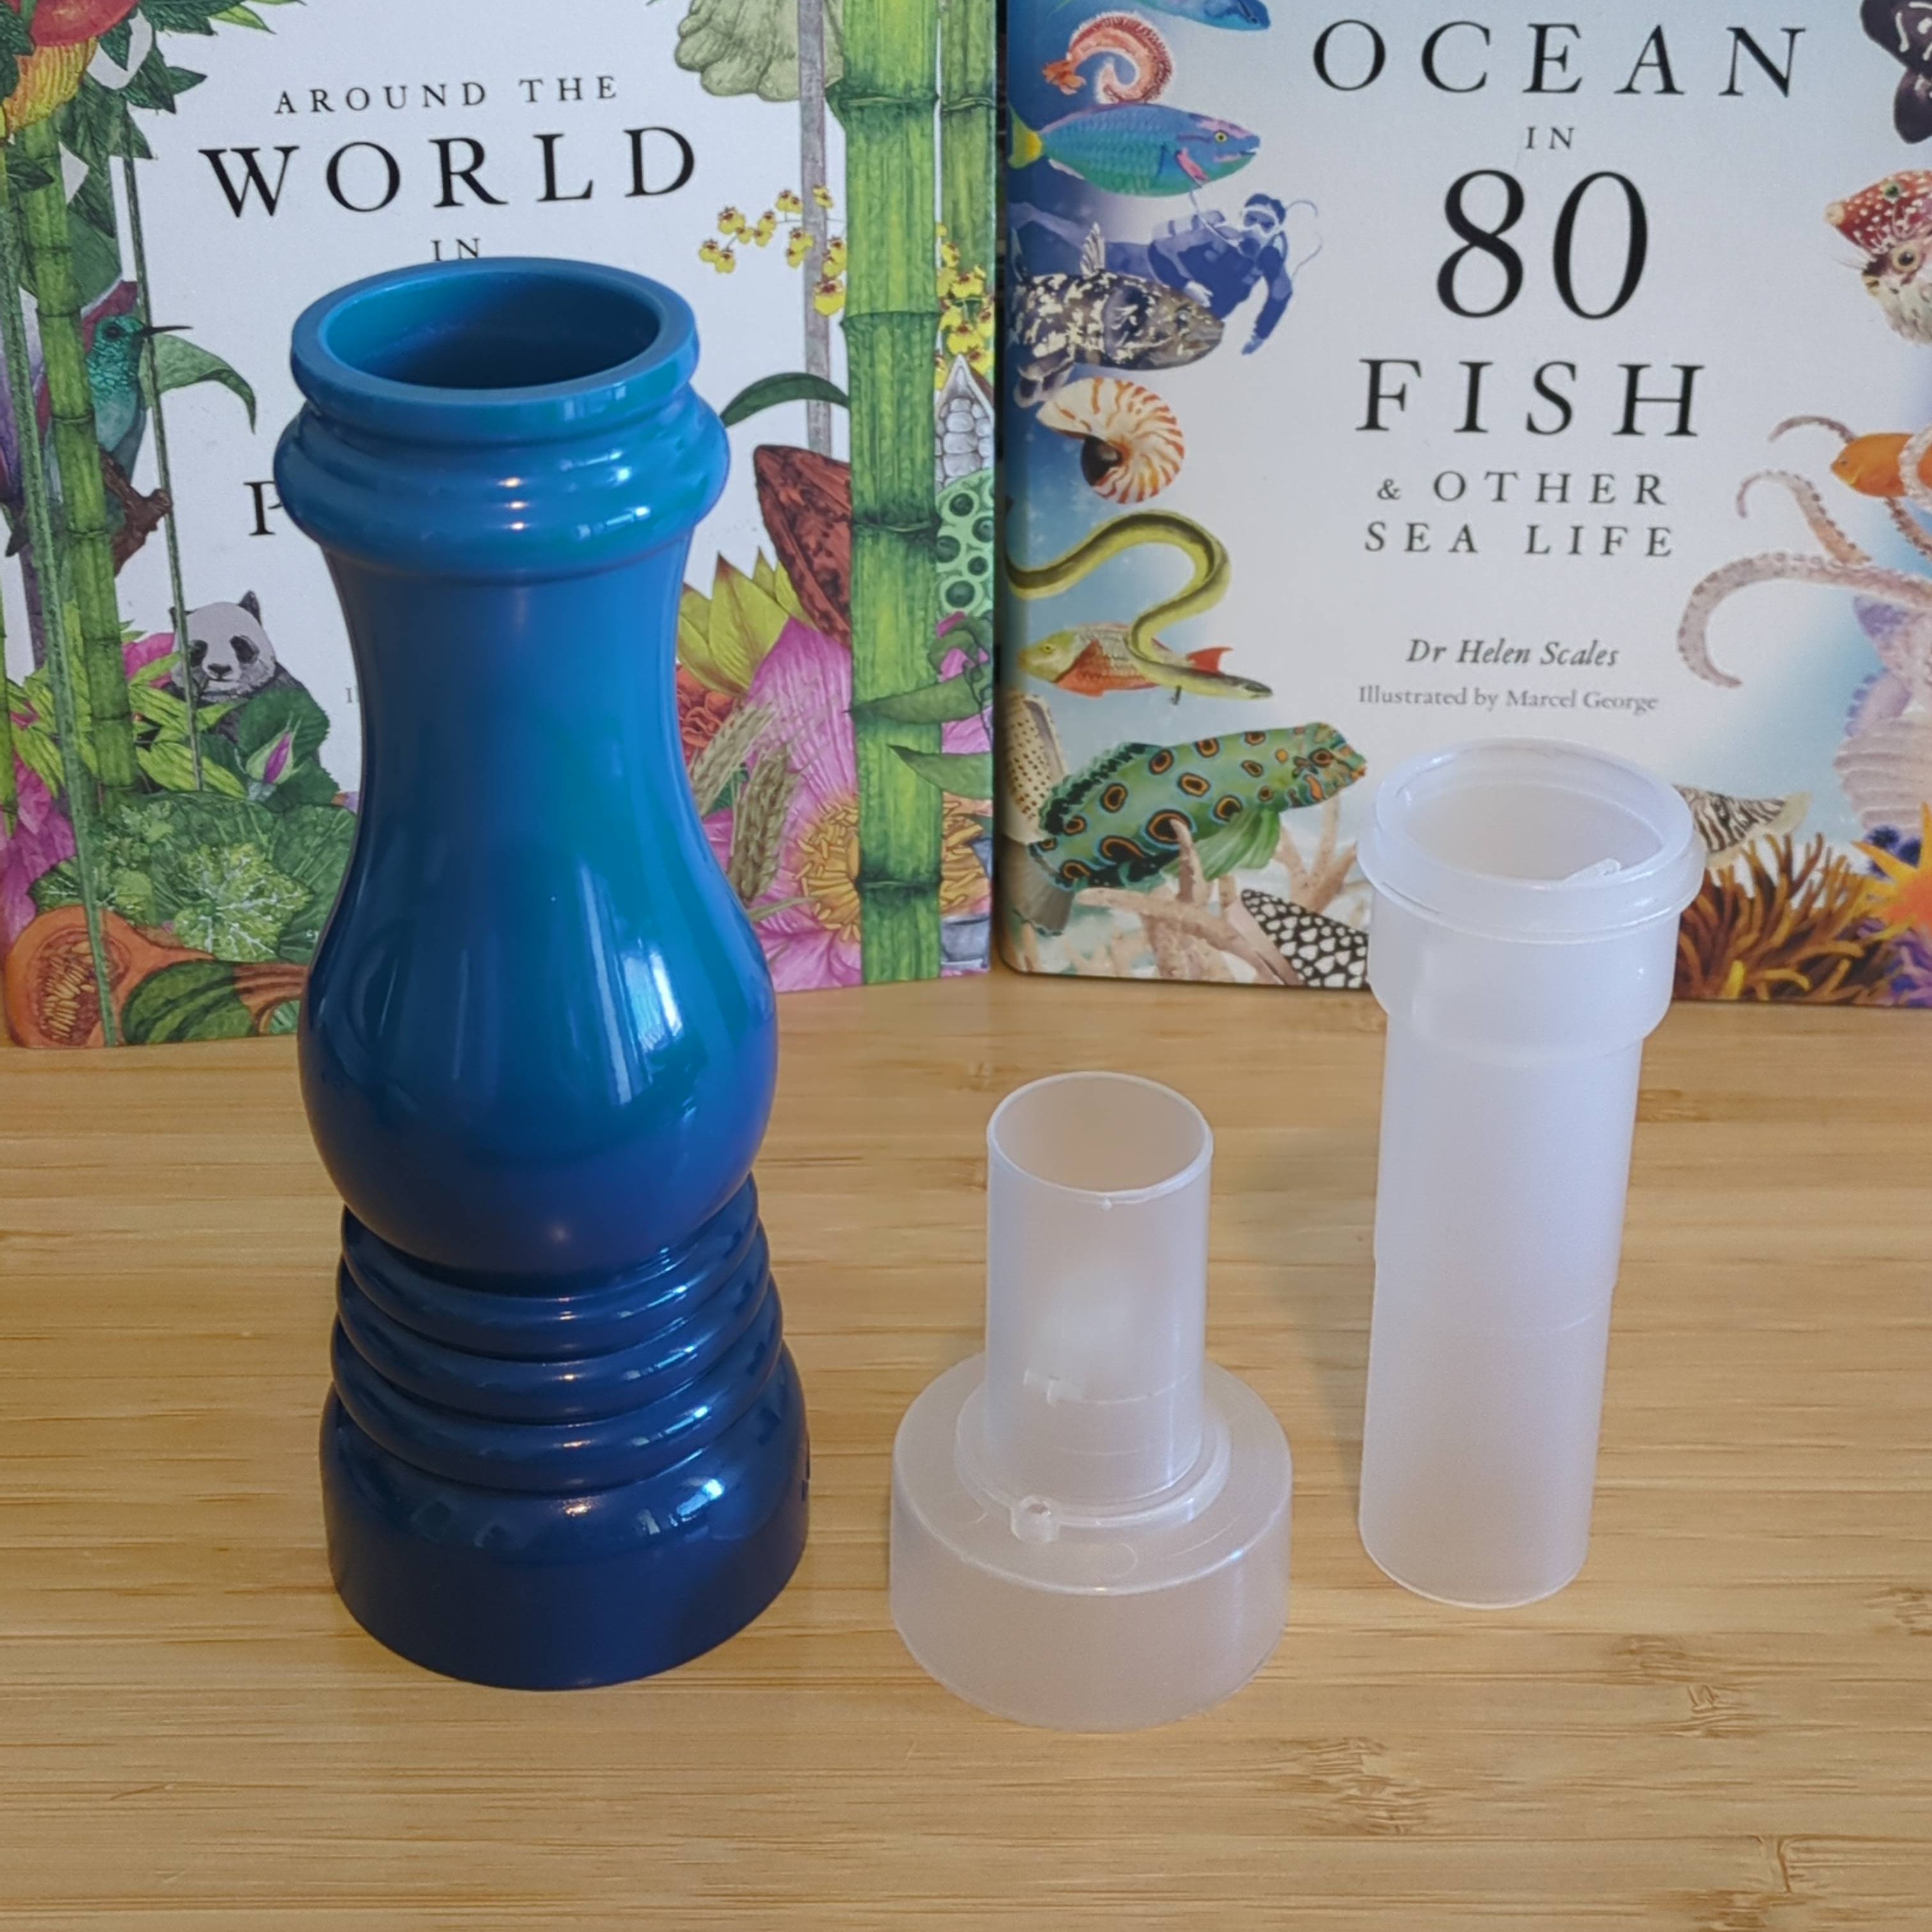
I do not have a screwdriver long enough to try this, but I think you could do this with the top collar in place to remove the bottom collar first, and then use the screwdriver method to remove the top collar. Given the larger spaces around the supports of the top collar, I think you could push on the bottom collar's support. I haven't tried this though, and the bottom collar is layered into the top collar, so it could be that with the top collar in place, the bottom collar is too tightly secured into the body of the mill that pushing against the support of the bottom collar breaks it. Again, only try this if you are okay causing irreperable damage to your mill.
Once you remove the bottom collar, you'll have unrestricted access to every nook and cranny of your pepper mill to clean it up like it was brand new.
Reassembly
Follow these steps in reverse to reassemble the mill. Note that the bottom collar accommodates the two screws that retain the metal bracket. To reset the bottom collar, you must align the screw holes on the collar with those on the mill body. Otherwise, the reassembly process is much easier than disassembly.
Enjoy your now clean-as-new Le Creuset mill grinder!
If you discover any tips or better ways of doing this, please contact me and let me know so that I can update the instructions (with credit to you, if you want) reflecting the better approaches.